Notes, grid and guides
Notes on a page, the grid, guides and the straight ruler.
Notes on a page
A note is a pin you stick on the page with a few words: a reminder to yourself, or a remark for someone you work with. Notes do not appear in exported images or PDFs. The editable MangaPage format includes the page’s notes.
Choose the note tool, the pin in the strip, and click where the note belongs. Type, then click the page to close it.
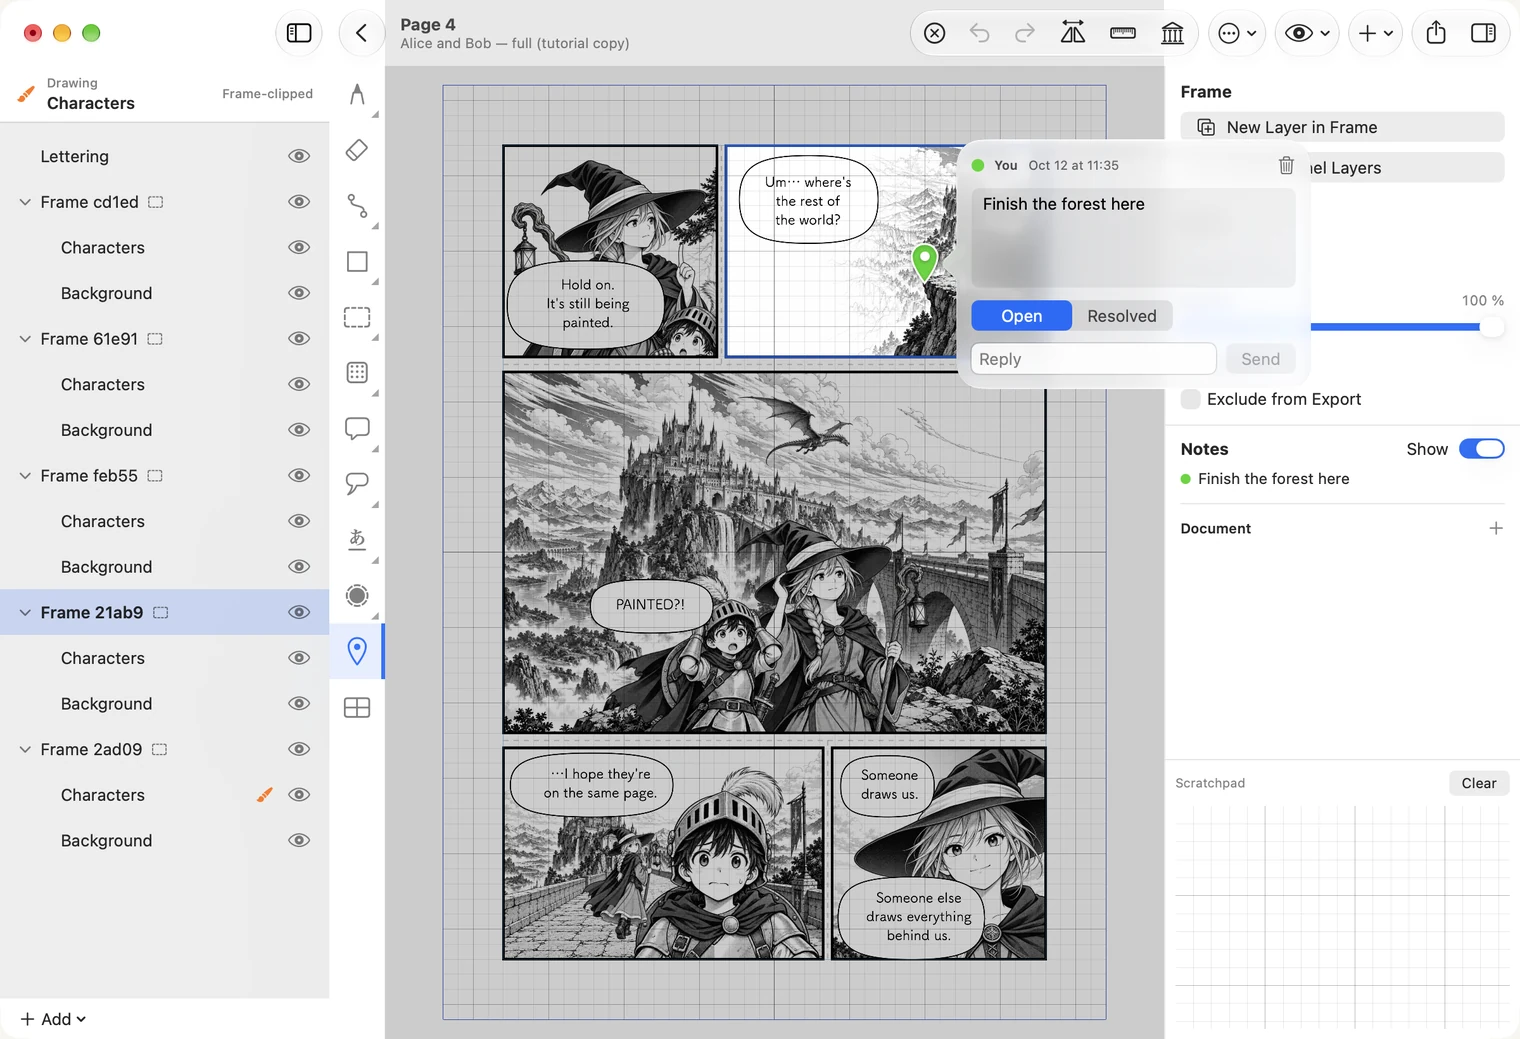
- Click a pin to open its note again.
- Reply adds a line under it; Resolved marks it done; the trash can deletes it.
- The right side lists the page's notes. Show hides and shows the pins.
- On Mac, Insert ▸ Note (⌥⌘N) adds a note at the pointer, and a layer's menu has Add Note to Layer.
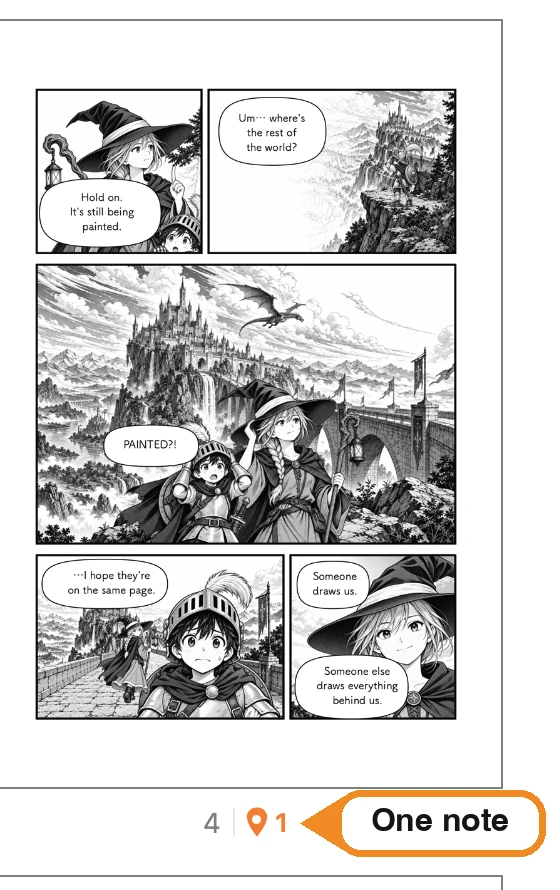
In the page list, a page that has notes carries an orange pin and the number of notes beside its page number, so you can see which pages still need attention.
A note can also be about the whole manga and not about one spot. Under Notes on the right, the + beside Document adds one. It has no pin; it is listed there, under Document.
The grid
The fine squares behind the page are a grid to help you place things. Open the eye menu in the toolbar and choose Grid to turn it on or off.
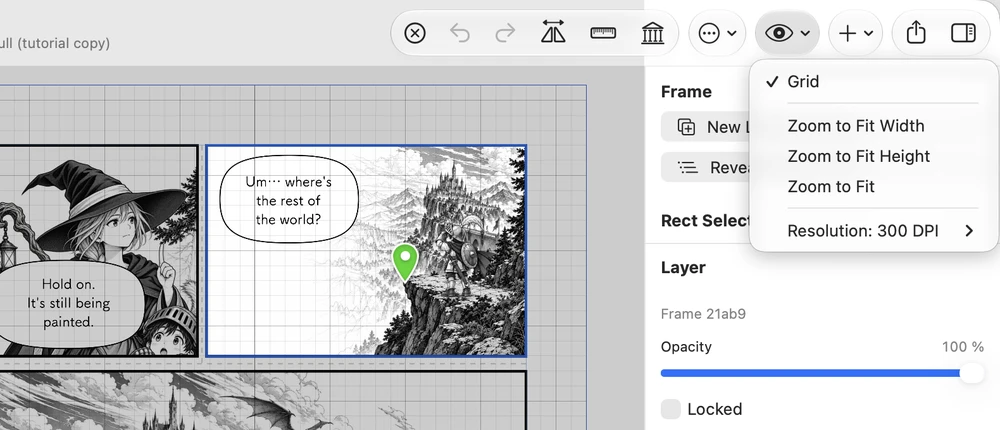
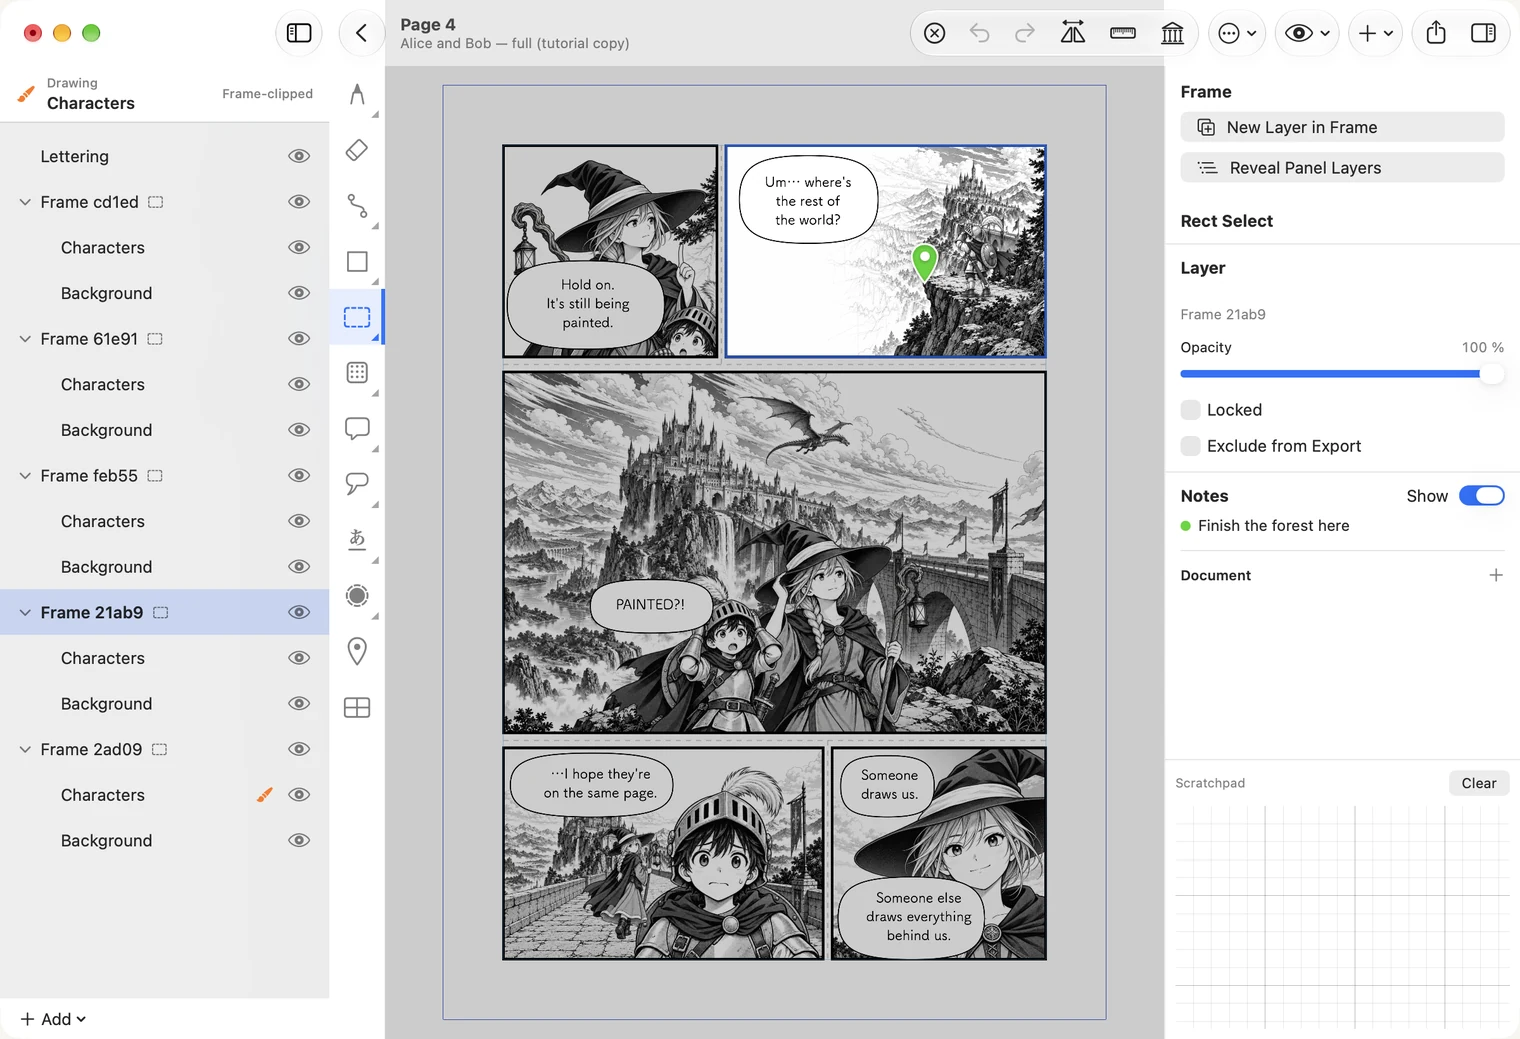
The grid, the note pins and the page's guide lines (the trim line and the inner line) are for you. None of them appear in exported images or PDFs.
The grid's fine squares are 5 mm, and its heavier lines are 25 mm apart.
The two thin blue rectangles on the page are its guide lines. The outer one is the trim, where the paper is cut. The inner one is the area that is safe for faces and words. Both come from the document's settings; see Documents and pages.
The same menu zooms the page to fit the window. Its last item, Resolution, sets how finely the page is drawn on screen while you work: higher is sharper when you zoom in, and uses more memory. It does not change your drawing or what is exported; an export has its own resolution.
Guides and the straight ruler
The ruler button in the toolbar lays a straight ruler on the page. One long side of it carries tick marks: that is the drawing edge. The ruler works with the brush, so it needs a pen. Start a brush stroke on the ticked half and the ink runs straight along that edge, however loosely you draw. It is the quick way to rule a horizon or the edge of a building. For parallel lines, move the ruler a little and draw again.
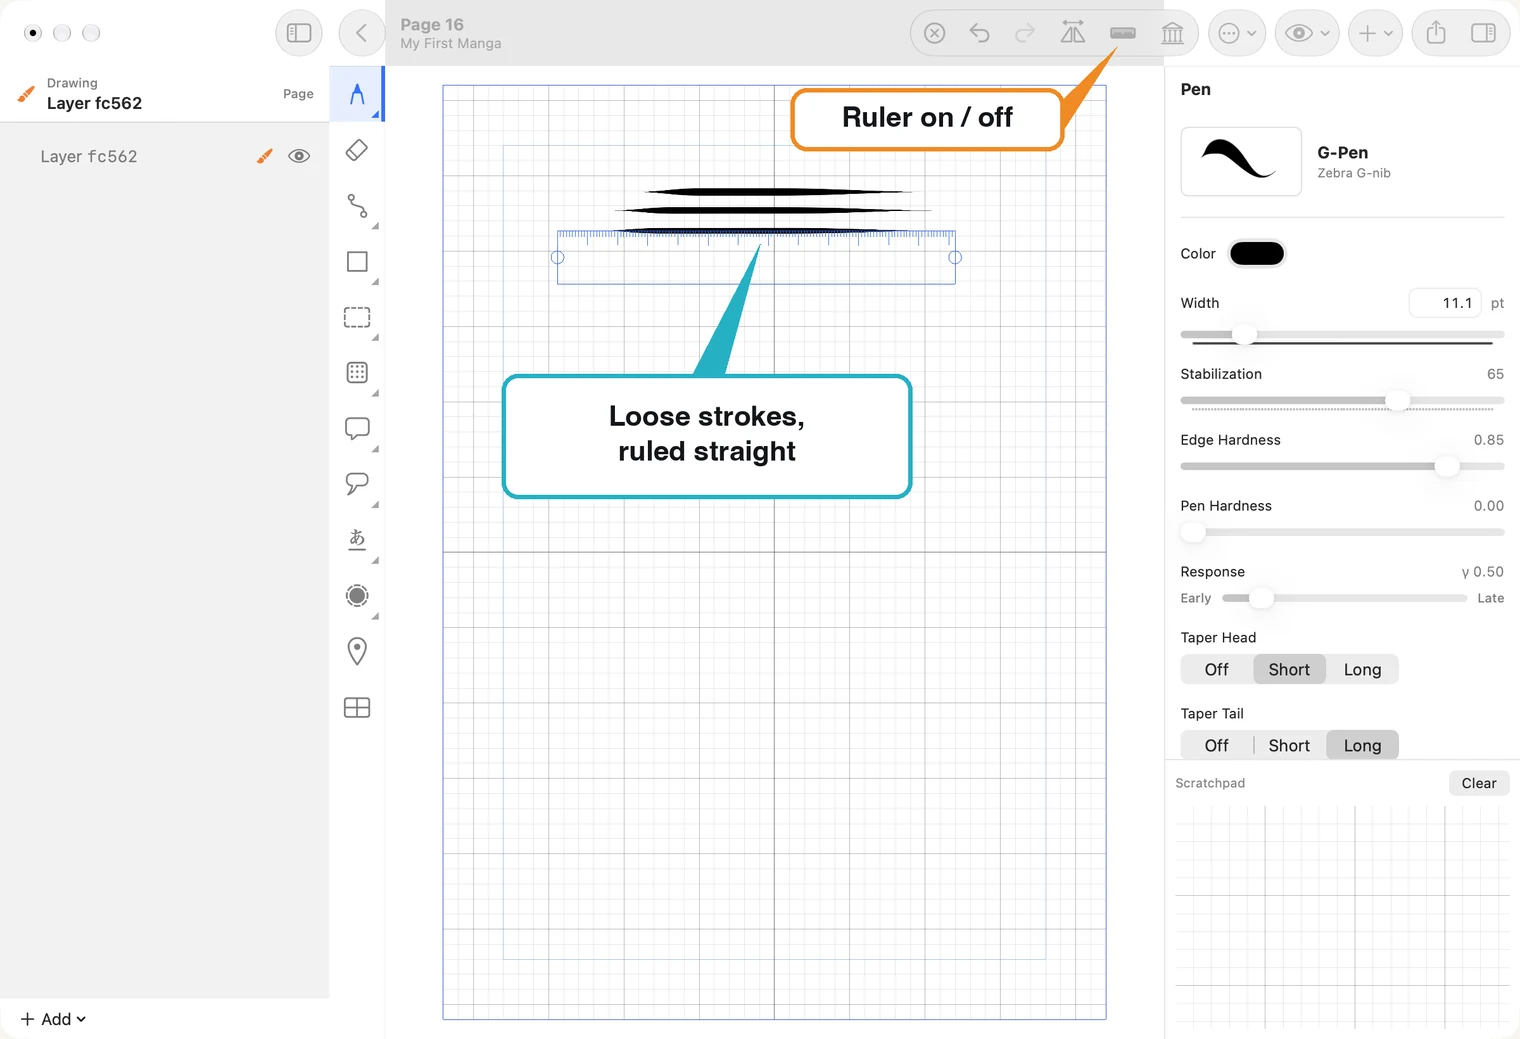
- Drag the plain half of the ruler to move it.
- Drag the round handle at an end to turn the ruler or make it longer.
- If the pen wanders across to the plain half during a stroke, the stroke is dropped. Start again from the ticked side.
- Press the ruler button again to put the ruler away. Your strokes stay.