Paths and shapes
Lines and shapes you can edit after drawing them.
Why paths
A pen stroke follows the movement of your pen. A path is a line you place point by point and can keep adjusting: move a point, change a curve, make the line thicker. Paths and shapes work with a mouse, so a Mac without a pen tablet can still ink a page with them. On iPad they are drawn with Apple Pencil; a finger does not draw a shape.
Draw a path
Choose your panel first (see Your first page, step 3). Then choose the path tool, the third in the strip.
- Click to place a point. Each click adds a straight piece.
- Click and drag to place a point with a curve through it. The two round handles show the curve's direction and strength.
- Press the ✓ in the toolbar to finish. Click the first point again instead to close the path into a shape; on iPad, tap it with the Pencil.
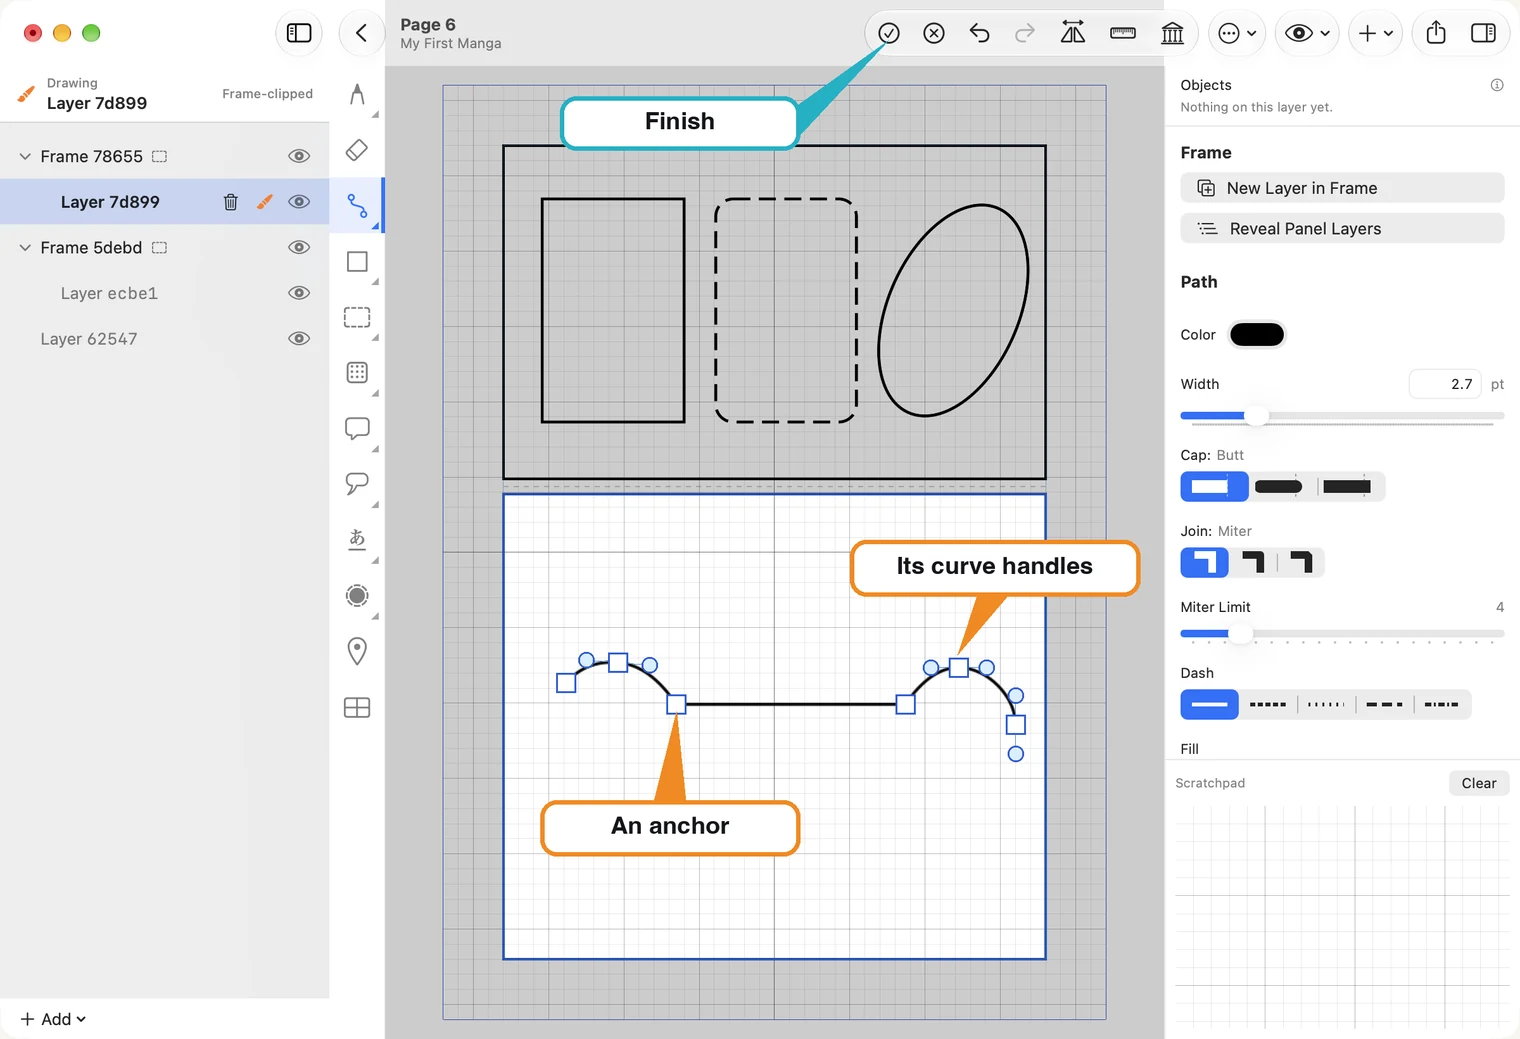
The ⊗ beside it cancels the path you are drawing.
Line and fill
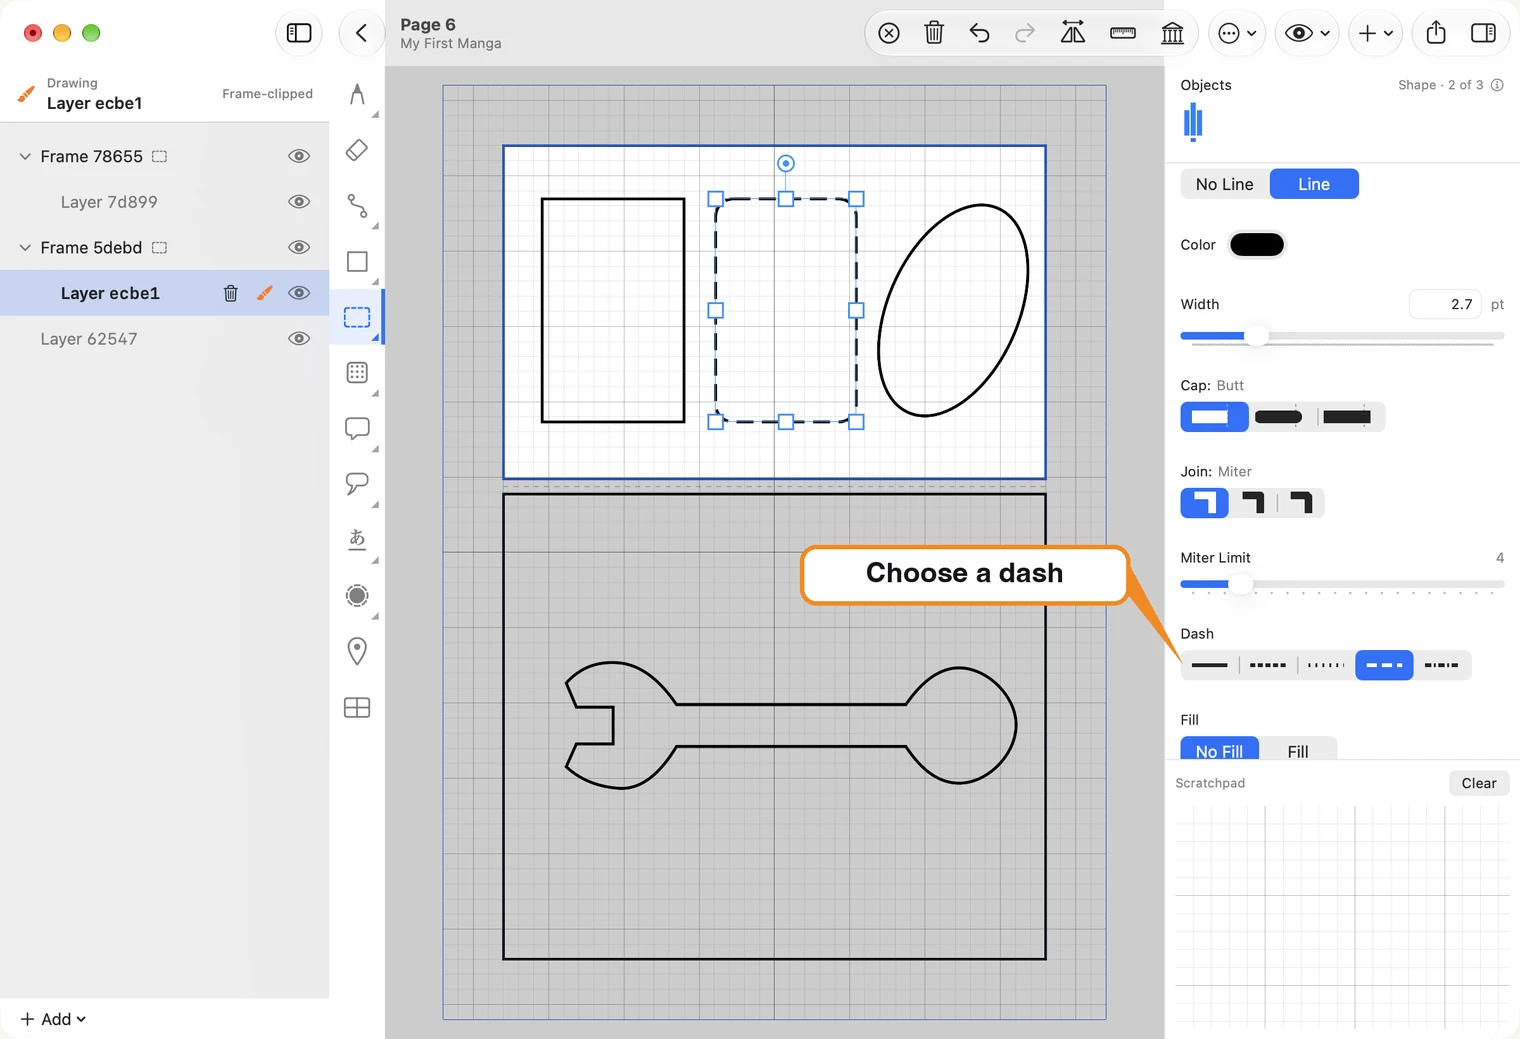
On the right, Color and Width set the line. Cap is the shape of the line's ends, Join the shape of its corners, and Dash makes it dashed. Fill and No Fill choose whether a closed path is filled in.
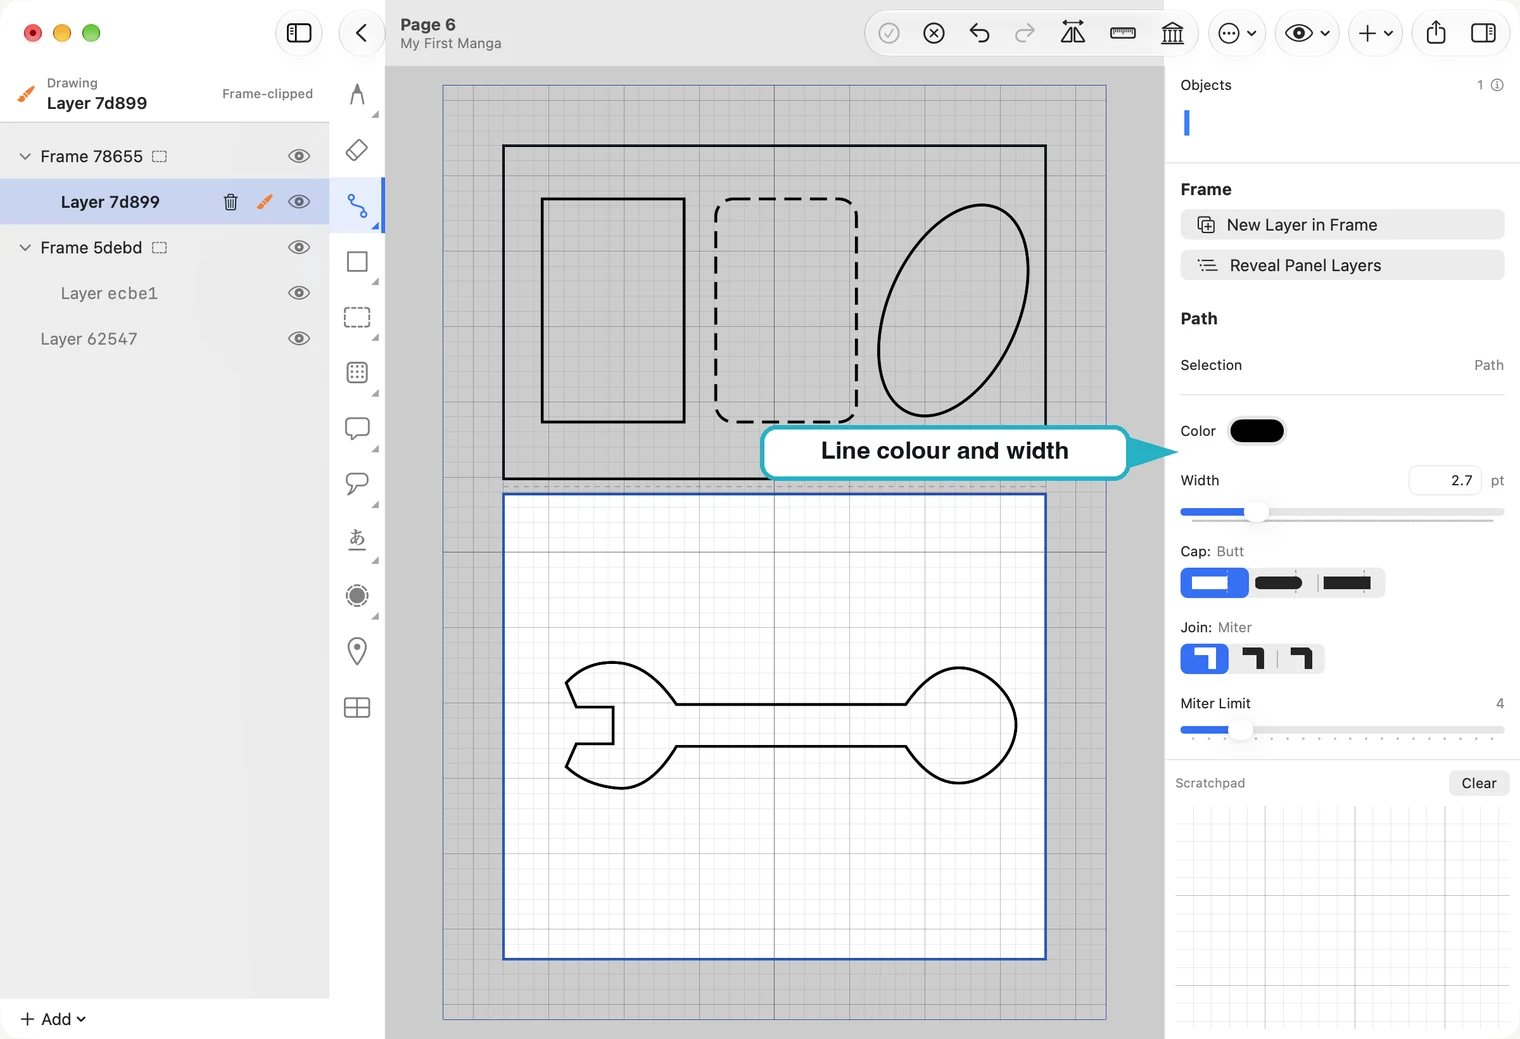
Set these before you draw and the next path uses them; select a path afterwards and they change that path. A path can also have No Line, leaving only its fill.
Fill has its own colour, in the swatch that appears beside the button. A white fill on white paper looks like nothing, but it hides whatever is behind the shape.
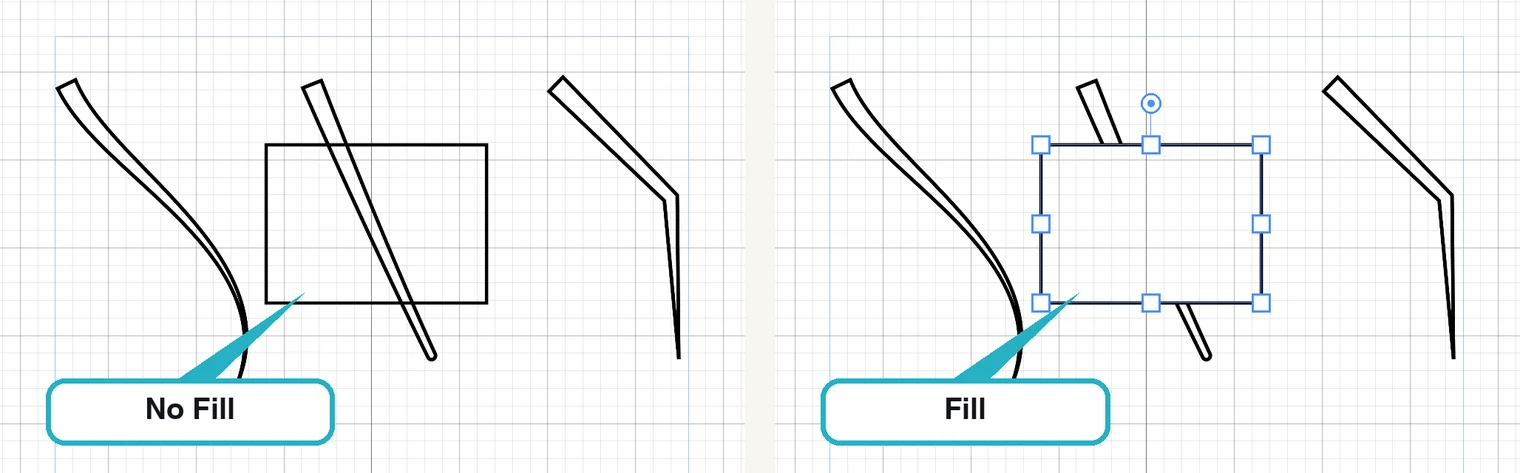
Click the swatch to choose another fill colour; on Mac it opens the Colors window. The Fill buttons you see while a drawing tool is chosen are for the next shape you draw. To fill a shape that is already there, select it first.
Shapes
The shape tool is the square below the path tool. Right-click it (on iPad, touch and hold) for Rectangle, Rounded Rectangle or Oval, then drag from one corner to the opposite corner. A shape has the same line and fill settings as a path.
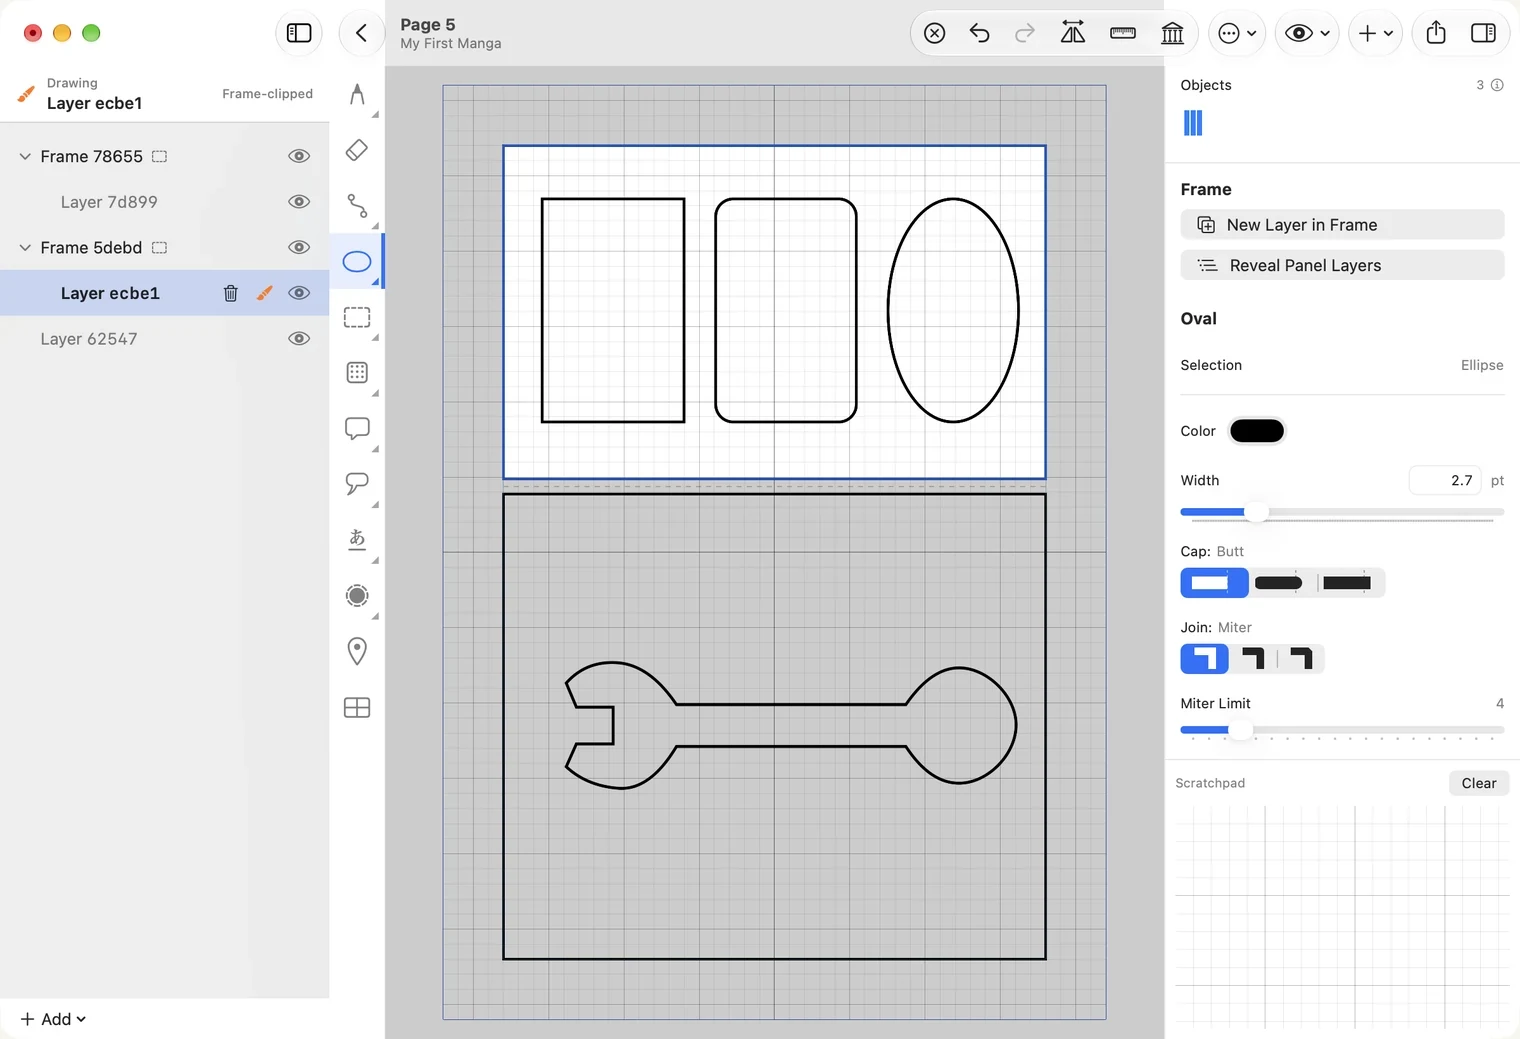
Check Width before you draw: at a very thin width a shape is there but hard to see.
Freehand path
Right-click the path tool and choose Freehand Path. Draw a stroke with the pen and it becomes a path, with the same points and handles as one you placed by hand. This kind needs a pen; a mouse does not draw it.
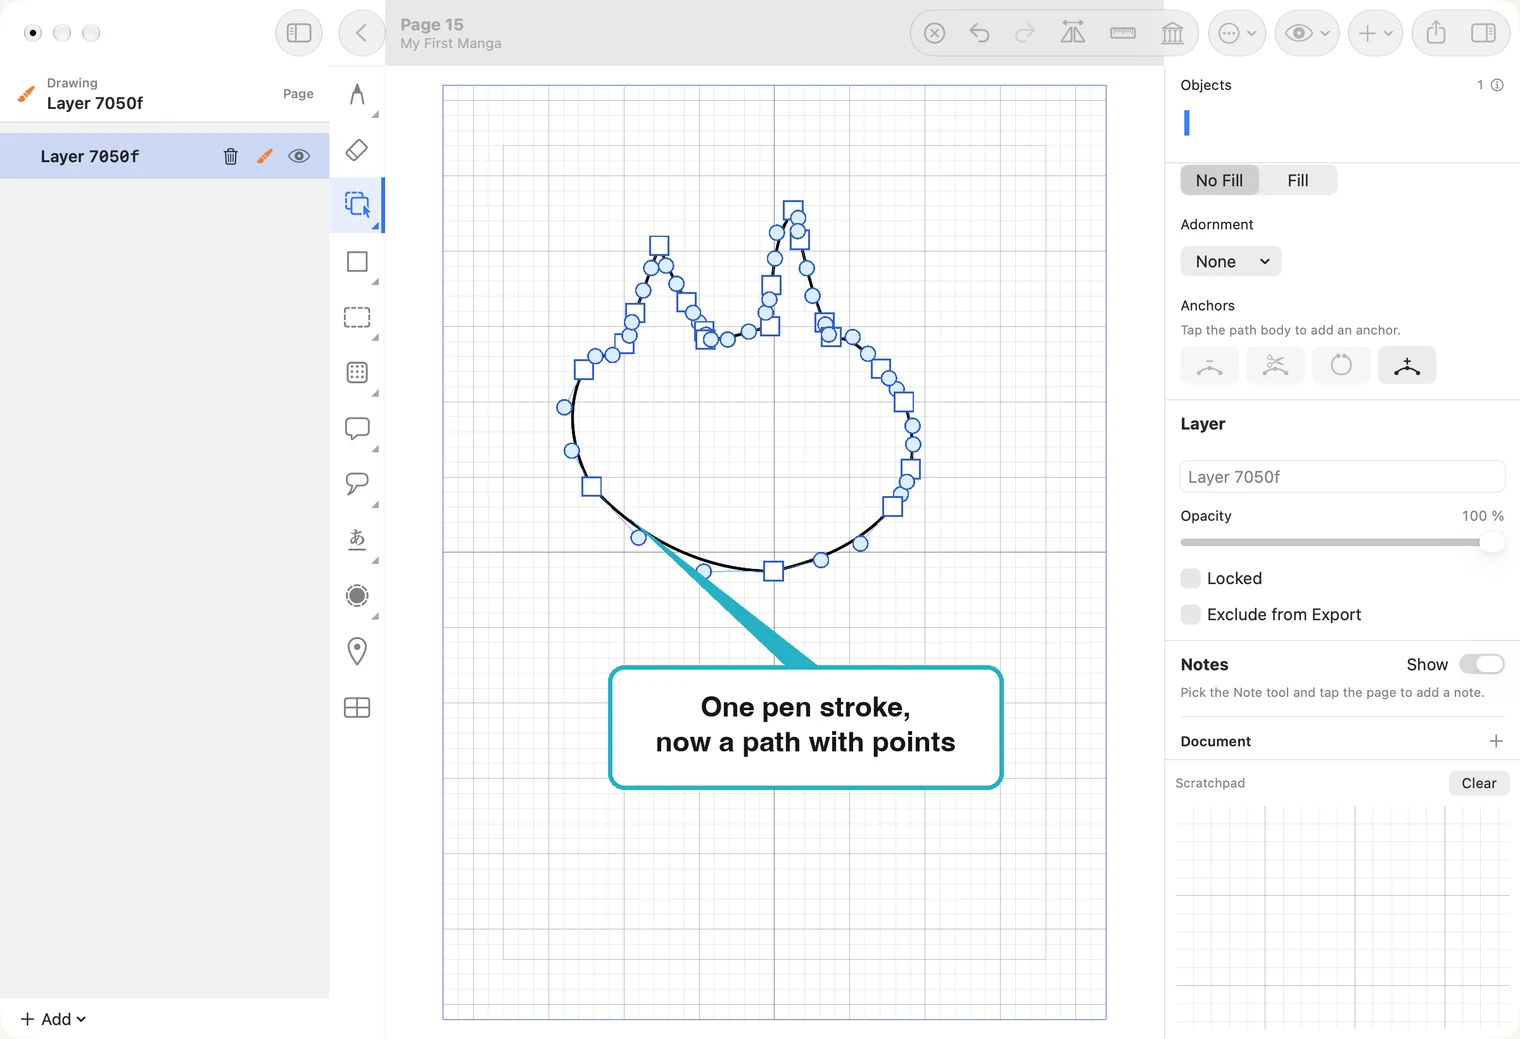
- To close the shape, hold the pen still for a moment at the end of the stroke, then lift it. Lift without stopping and the path stays open.
- Hold to Close sets how long that pause must be.
- Steadiness sets how still counts as still. Raise it if your paths will not close; lower it if they close when you meant them to stay open.
- Simplify sets how many points the path keeps: higher gives fewer points.
On iPad, touch and hold the path tool to choose between Path, Path Edit and Freehand Path, and touch and hold the shape tool for Rectangle, Rounded Rectangle and Oval. A plain tap takes the one you used last. The small triangle in a tool's corner means it holds more than one.
Select, move, resize, turn
With the selection tool, click a path or shape on its line. A shape with no fill is empty in the middle, so a click there selects nothing.
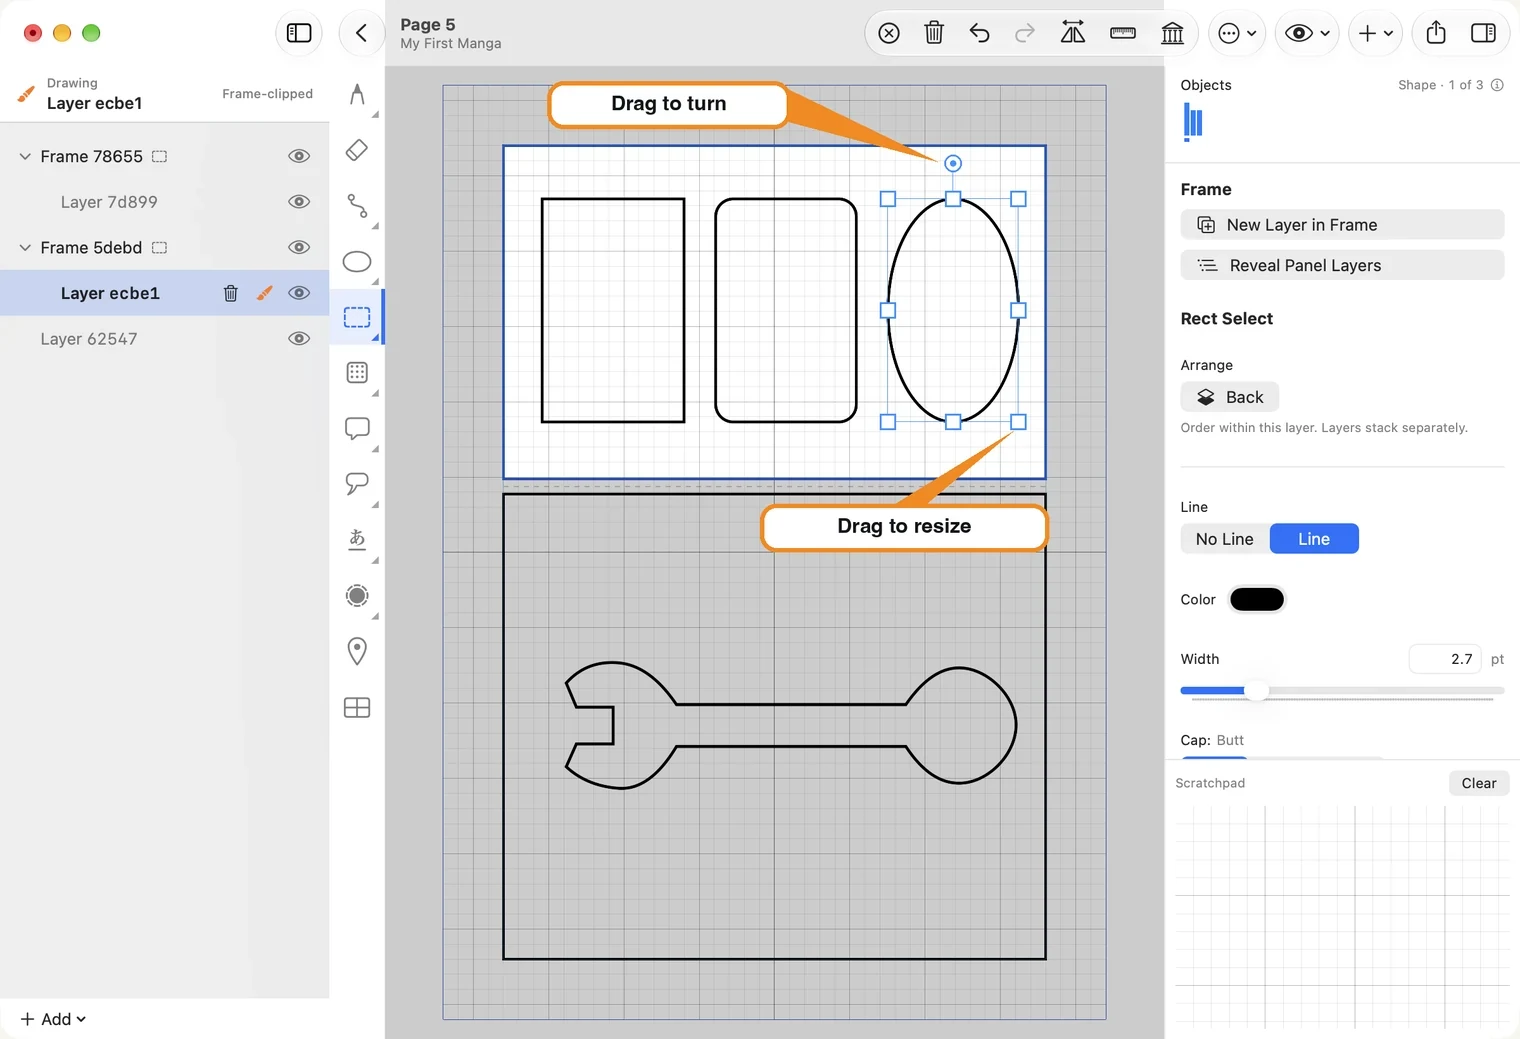
- Drag the shape to move it.
- Drag a corner handle to resize it evenly.
- Drag a side handle to stretch it one way only: wider or taller. A rectangle keeps its round corners, an oval stays an oval, and a path's line keeps its width. A path stretches along the page's across and down, whichever way it leans.
- Drag the round handle above it to turn it.
- Front and Back, under Arrange on the right, change what is drawn over what within the layer.
- ⌘A selects everything on the layer; ⌘D deselects. Hold Option as you start dragging to drag away a copy.
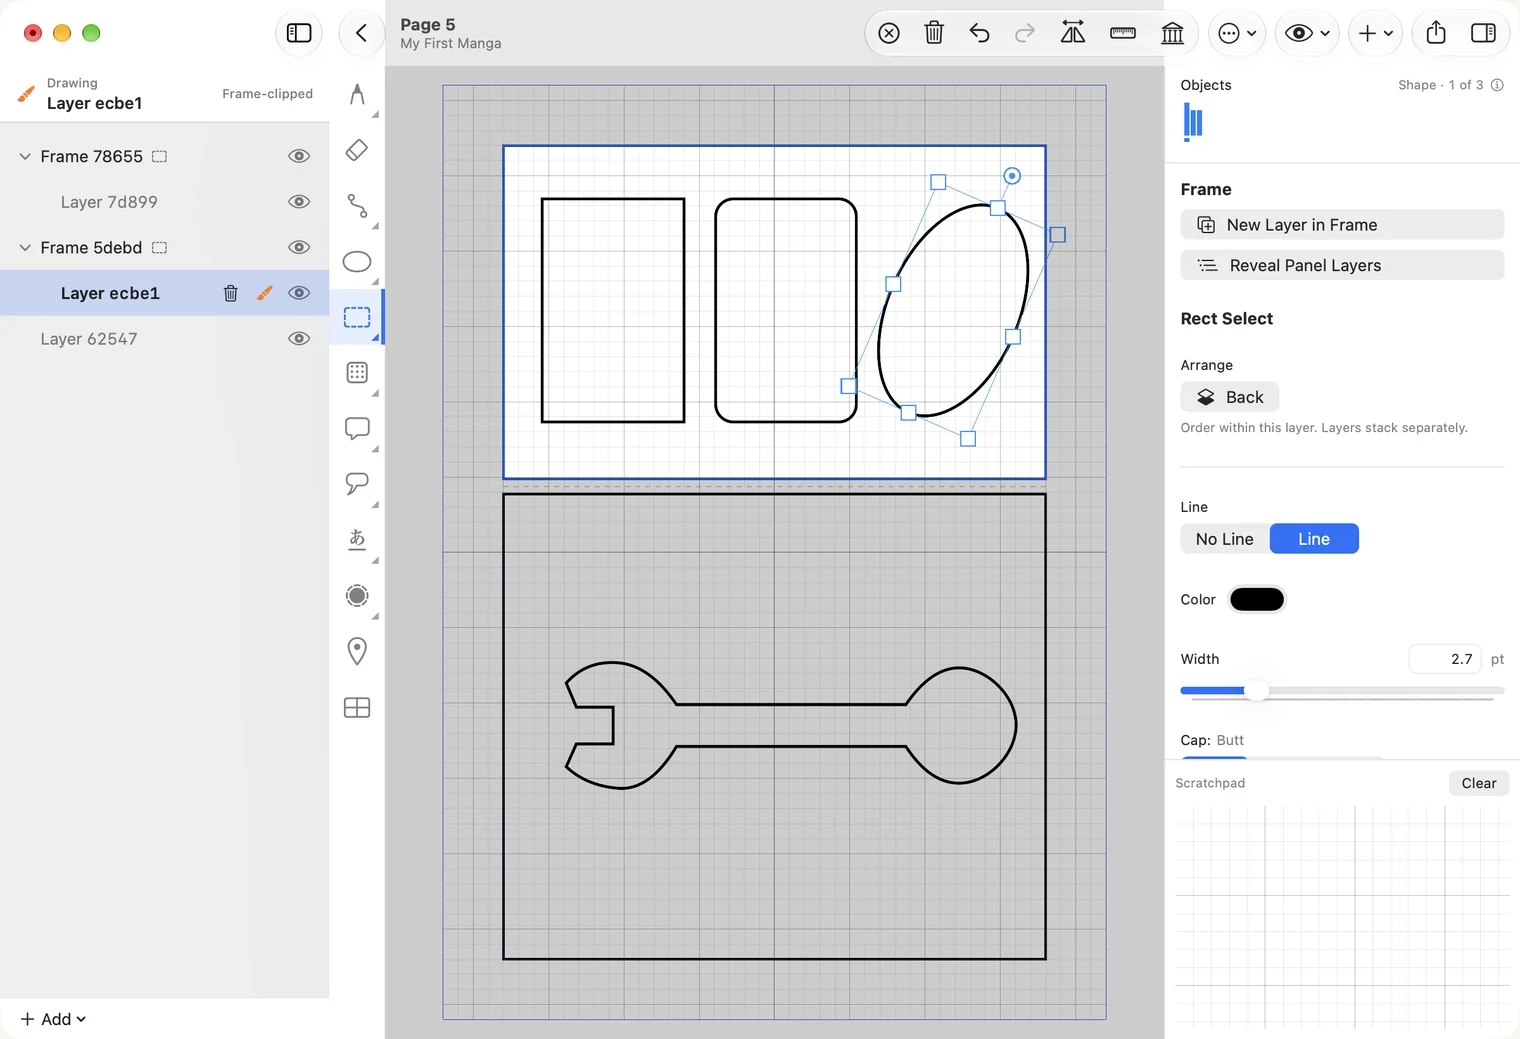
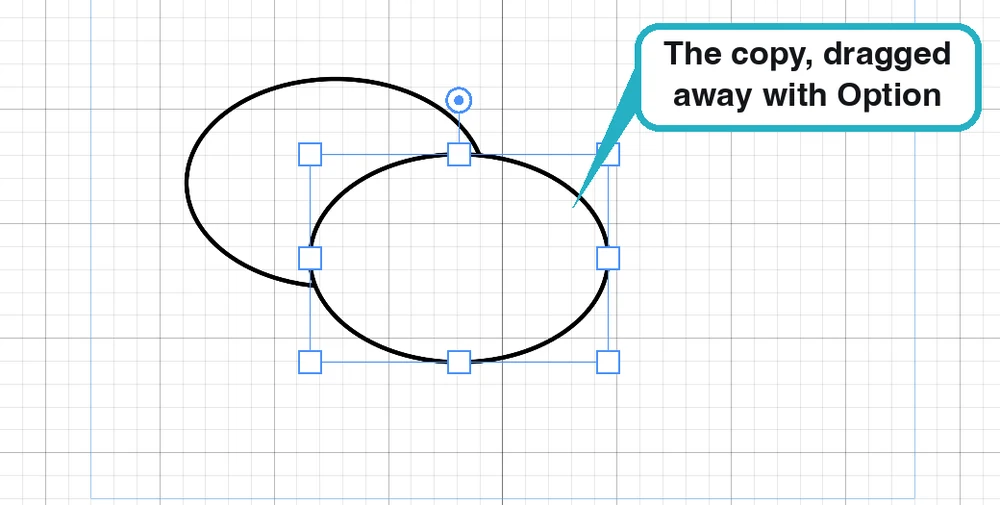
Option-drag copies a single path or shape. A combined shape (after Unite or Subtract) does not copy this way and returns to where it was; use Copy and Paste for those.
Change a path's points
Select a path or shape and press Edit Path on the right. Its points appear as small squares.
- Drag a point to move it.
- Click the line between two points to add a point there.
- With a point selected, the menu under Anchors makes it Sharp (a corner) or Smooth (a curve).
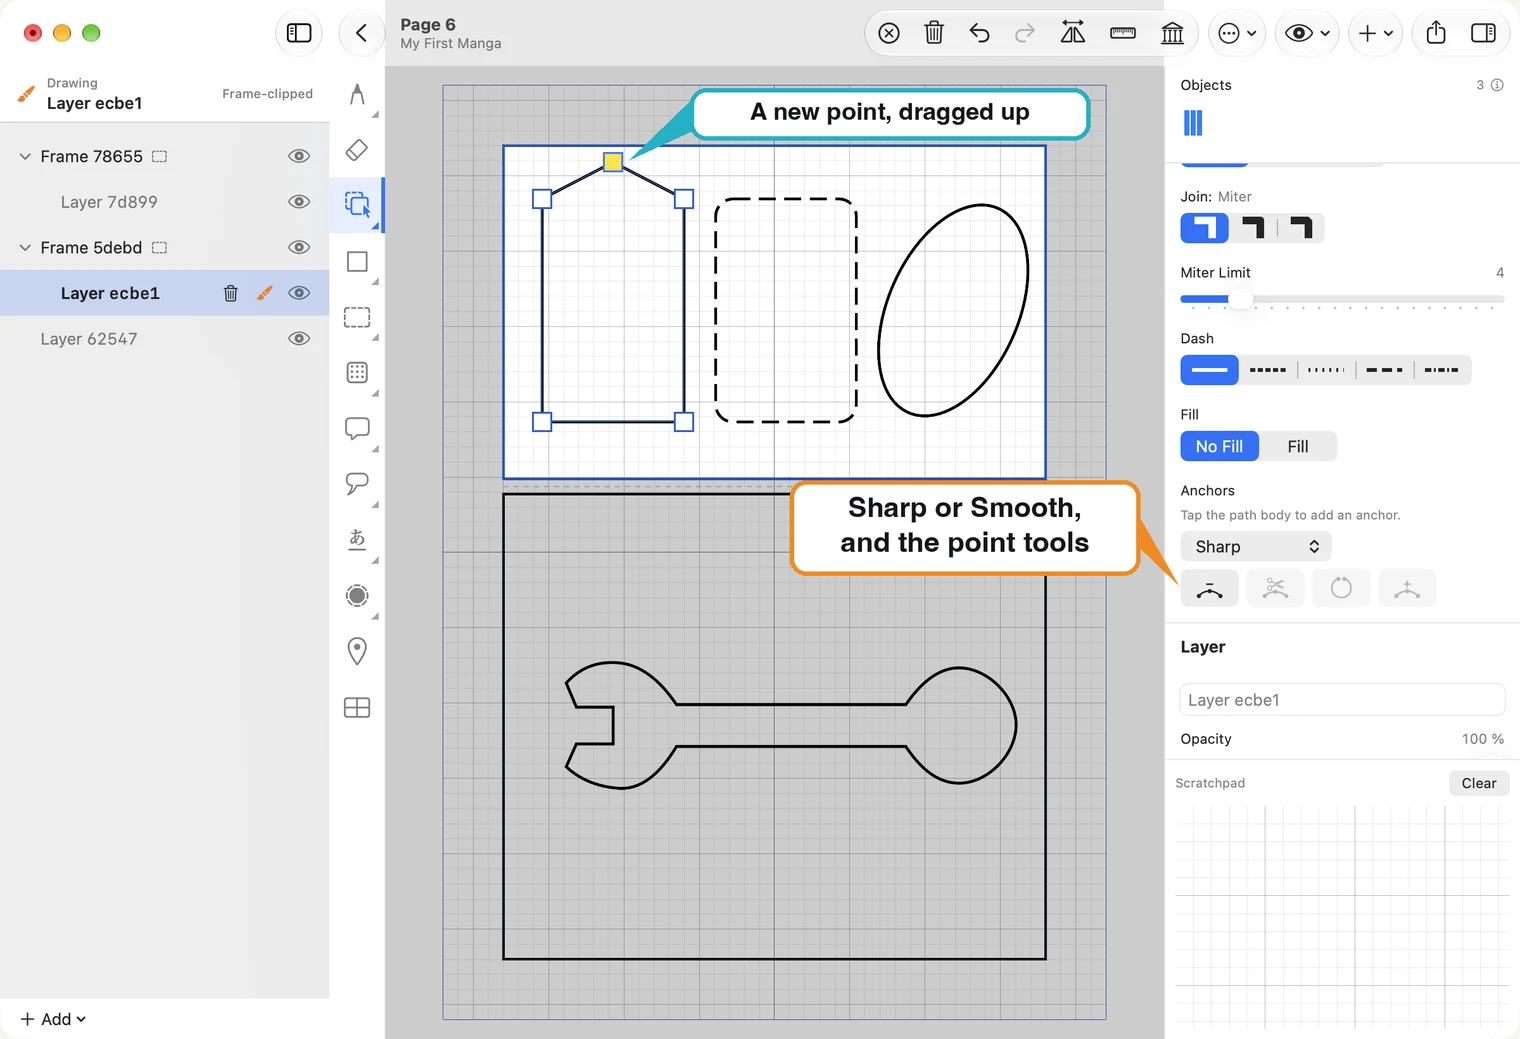
The four small buttons under Anchors work on the selected point. Rest the pointer on one to see its name. A button is grey when it does not apply to this path.
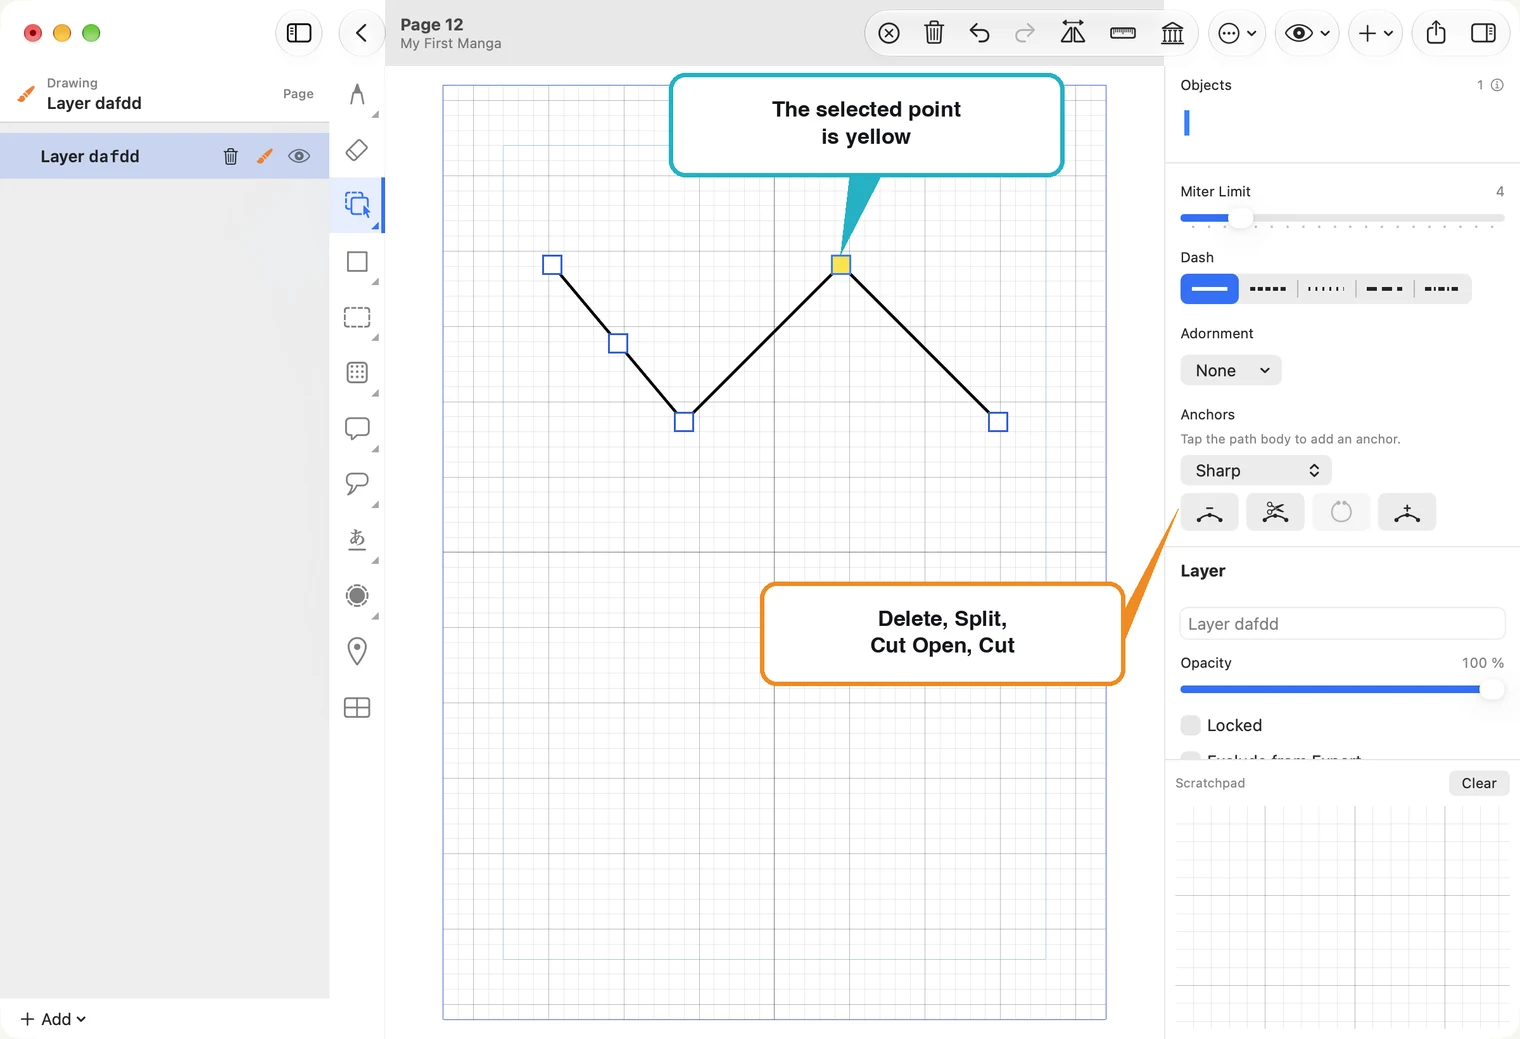
- Delete Anchor — removes the point; the line closes over the gap.
- Split — cuts an open path into two paths at the point. Both stay selected, so the join button under Path Operations can put them back.
- Cut Open — for a closed path: opens it at the point. The path looks the same until you drag one of the two new ends away.
- Cut Segment, the last one — press it, then click the path where you want the cut, instead of at a point.
Split and Cut Open are never lit together: one is for an open path, the other for a closed one.
A rectangle also has Corner Radius here, to round its corners. A rectangle or an oval from the shape tool is a shape, not yet a path: with one selected, Convert to Path under Path Operations turns it into a path, for the things only a path can do. Choose the selection tool again when you are done.
Combine shapes
Select two shapes and the right side offers Path Operations: Unite, Subtract, Intersect and Exclude. Unite and Subtract are shown with pictures in Balloons and tails. Intersect keeps only the part where the shapes overlap; Exclude keeps everything except that part.
Group, copy, place a picture
Group. Select the things that belong together (⌘A selects everything on the layer) and press Group under Path Operations on the right. From then on a click on any one of them selects them all, with one set of handles around the group.
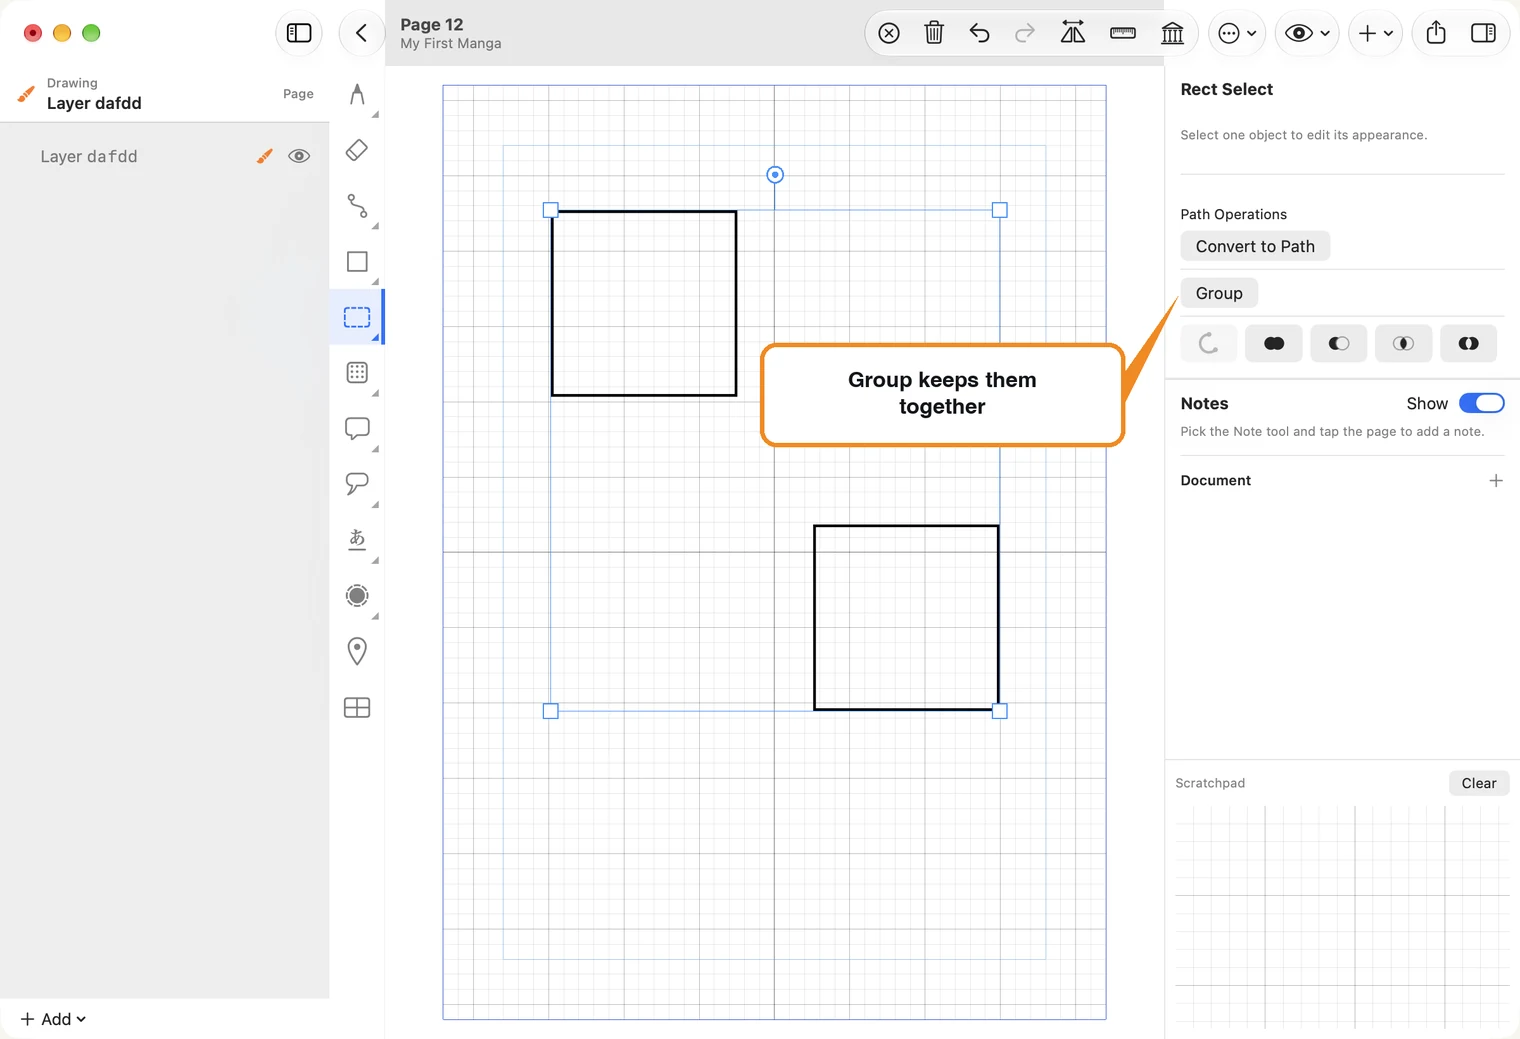
With a group selected, Ungroup separates it again.
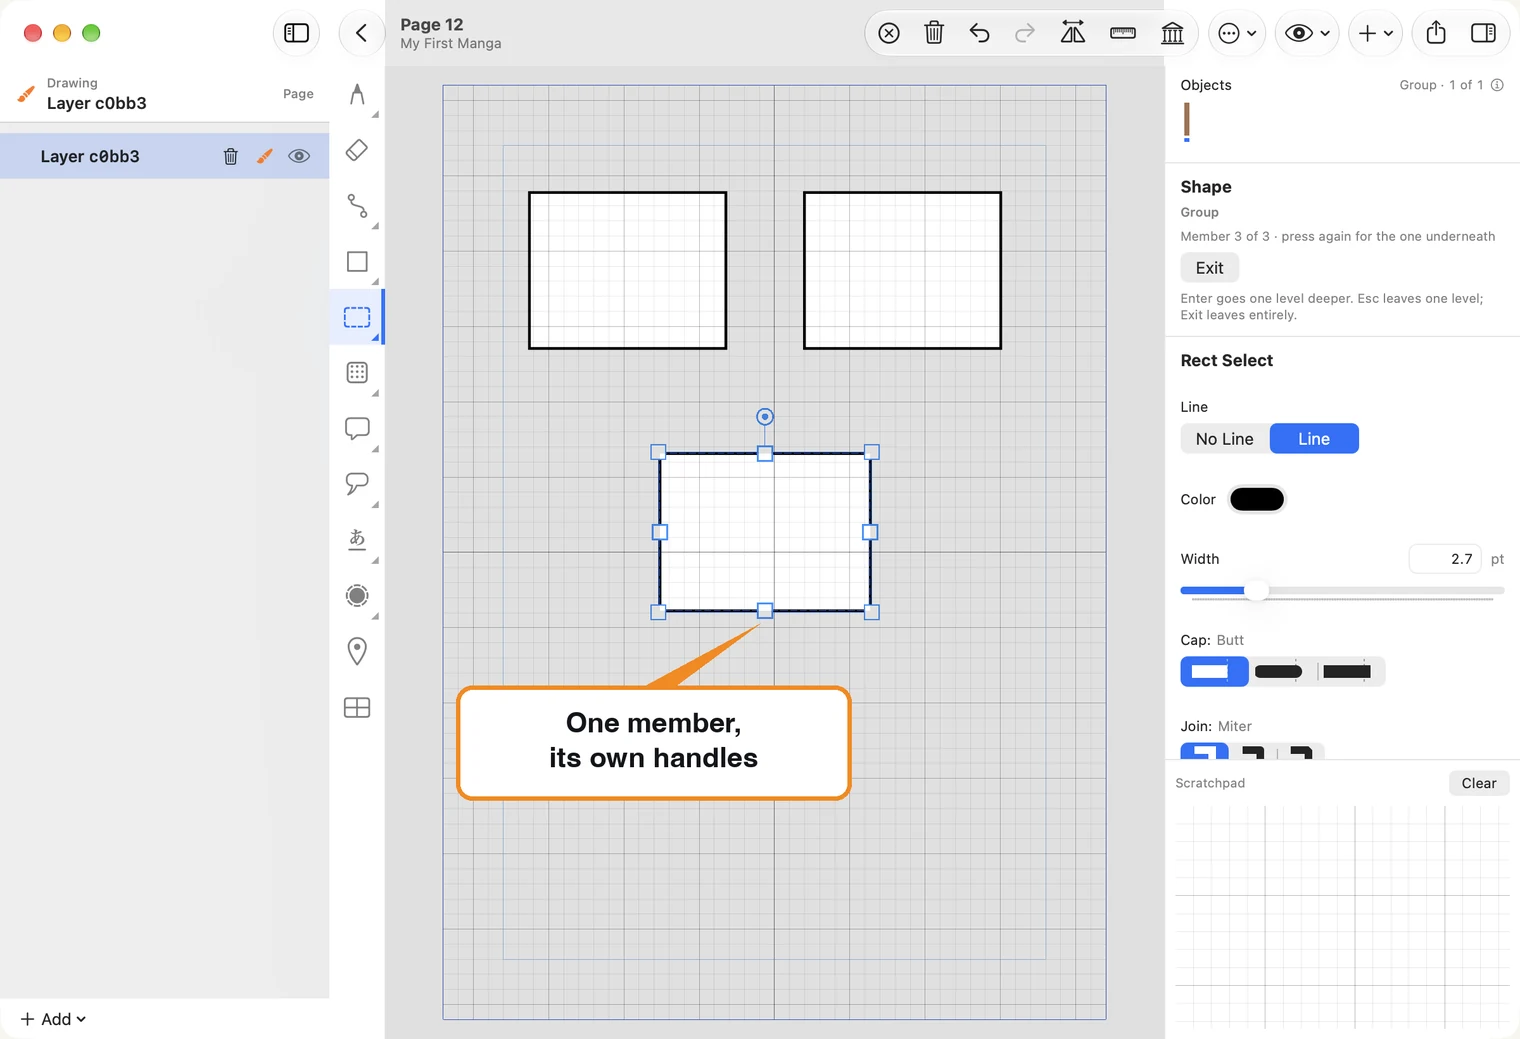
Change one thing inside a group. Select the group and press Enter, on the right. Now click one member: it gets its own handles, and you can move it, resize it, turn it or stretch it by a side, while the others stay where they are. Exit takes you back out. Pen strokes are the exception: a group of strokes moves and resizes as one, and to change a single stroke you ungroup first.
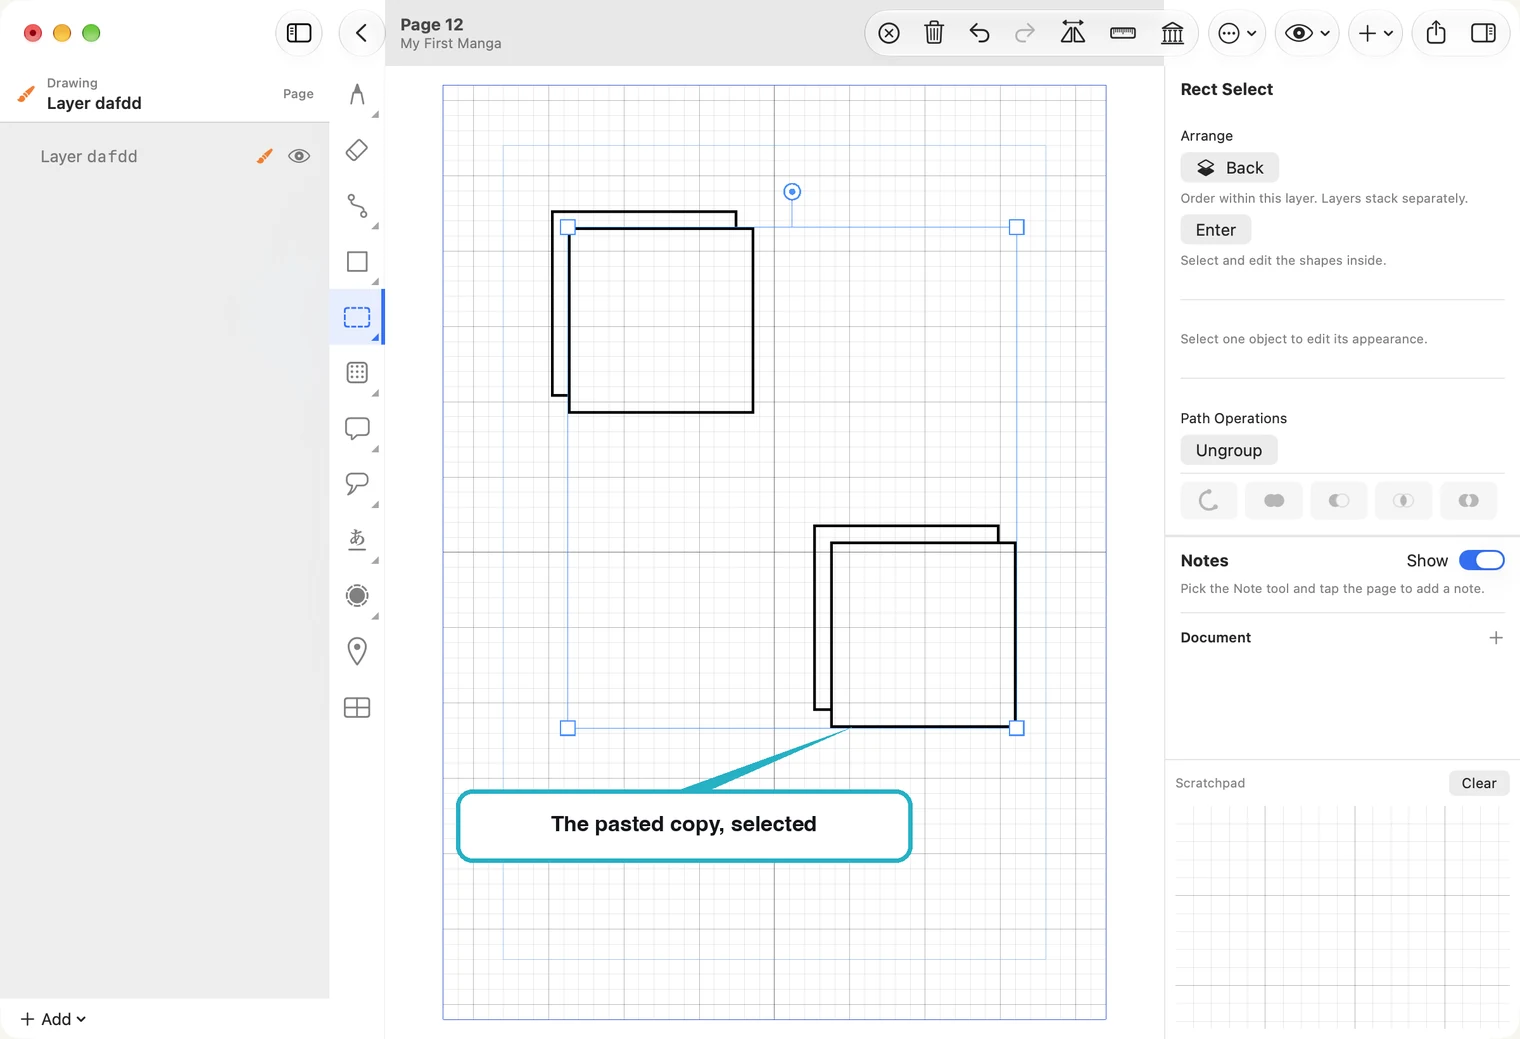
Cut, copy and paste. ⌘C copies what is selected, and ⌘X cuts it: it leaves the page and waits to be pasted. ⌘V pastes a little down and to the right, already selected with its handles, ready to drag into place, whatever tool you were holding. Paste in Place (⇧⌘V, in the Edit menu) puts it exactly where the original is. On iPad these are in the Edit menu in the toolbar.
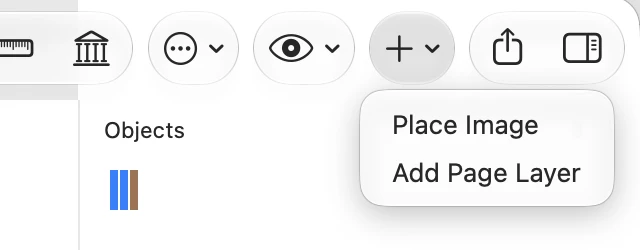
Place a picture. Press the + button in the toolbar and choose Place Image, then pick a file: a photo, a scan, or a rough from another app.
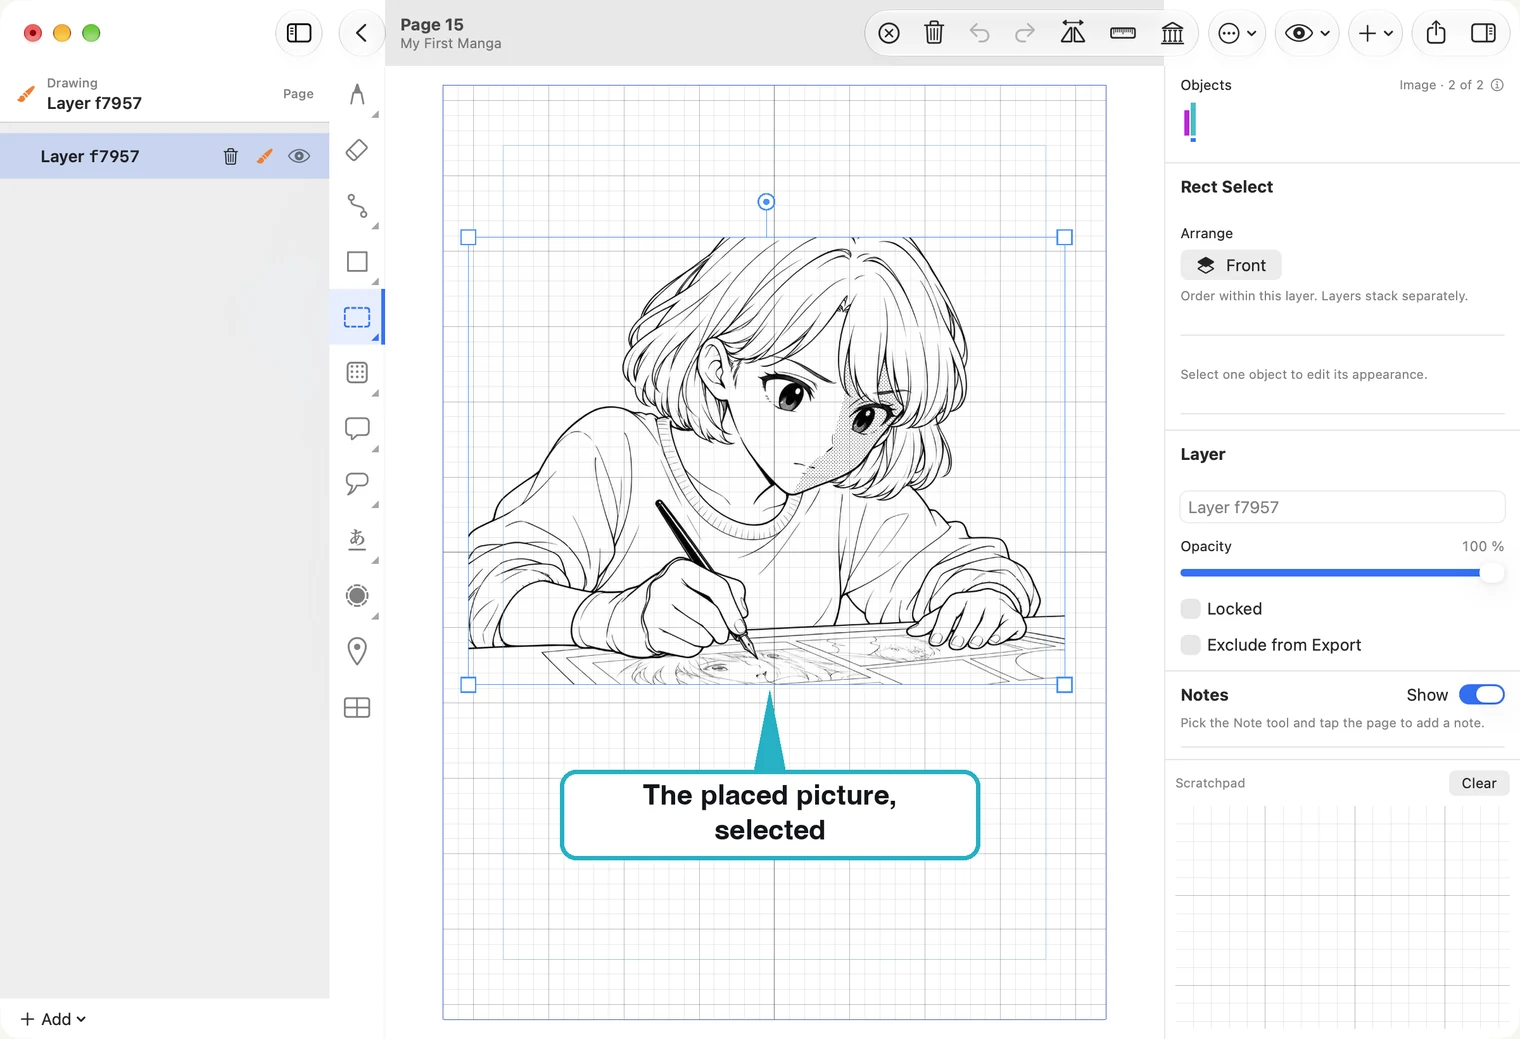
The picture lands on the layer you are drawing on, fitted to the page. It is one more thing on the layer: select it to move, resize or turn it, like a shape. If it has become larger than the page, Fit Selection to Page on the right makes it fit again.
You can also drag a picture onto the page, from the Finder on a Mac or from Files on iPad. It lands where you drop it, made smaller if needed so that it fits inside the page. A PDF of one page is placed the same way; a PDF with more pages is refused.
Fit Selection to Page, on the right, appears when the selection needs shrinking to fit within the page's margins. It makes it smaller, evenly, and centres it. It never enlarges and never stretches.