Create a document
An empty document, ready to draw in.
1. Open MangaLoft
The first window offers two things: start a new document, or open one you already have. Documents you opened before are listed on the right.
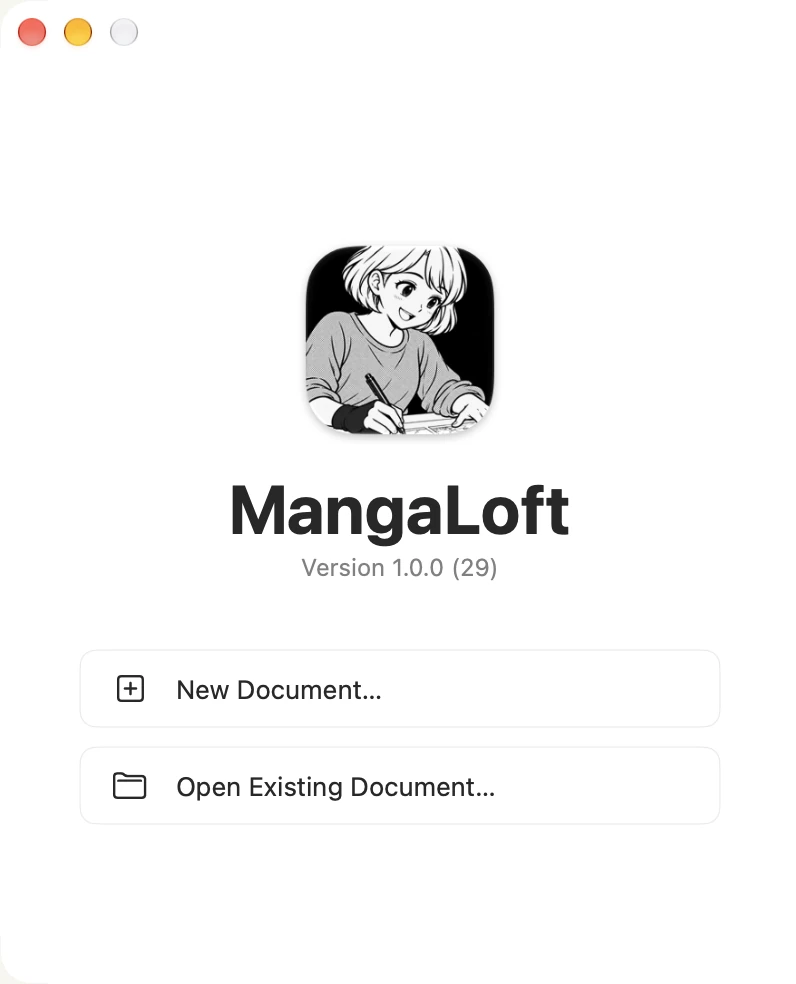
Choose New Document…. If a document is already open, use File ▸ New (⌘N).
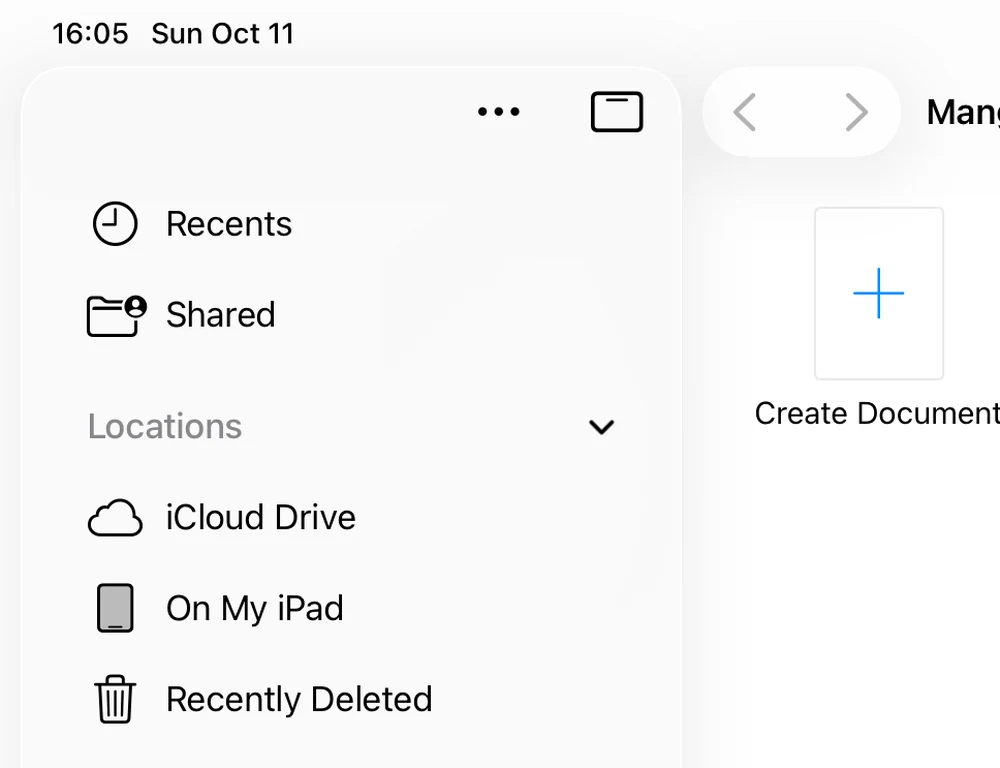
On iPad, MangaLoft opens on your files. Tap Create Document, or the + at the top.
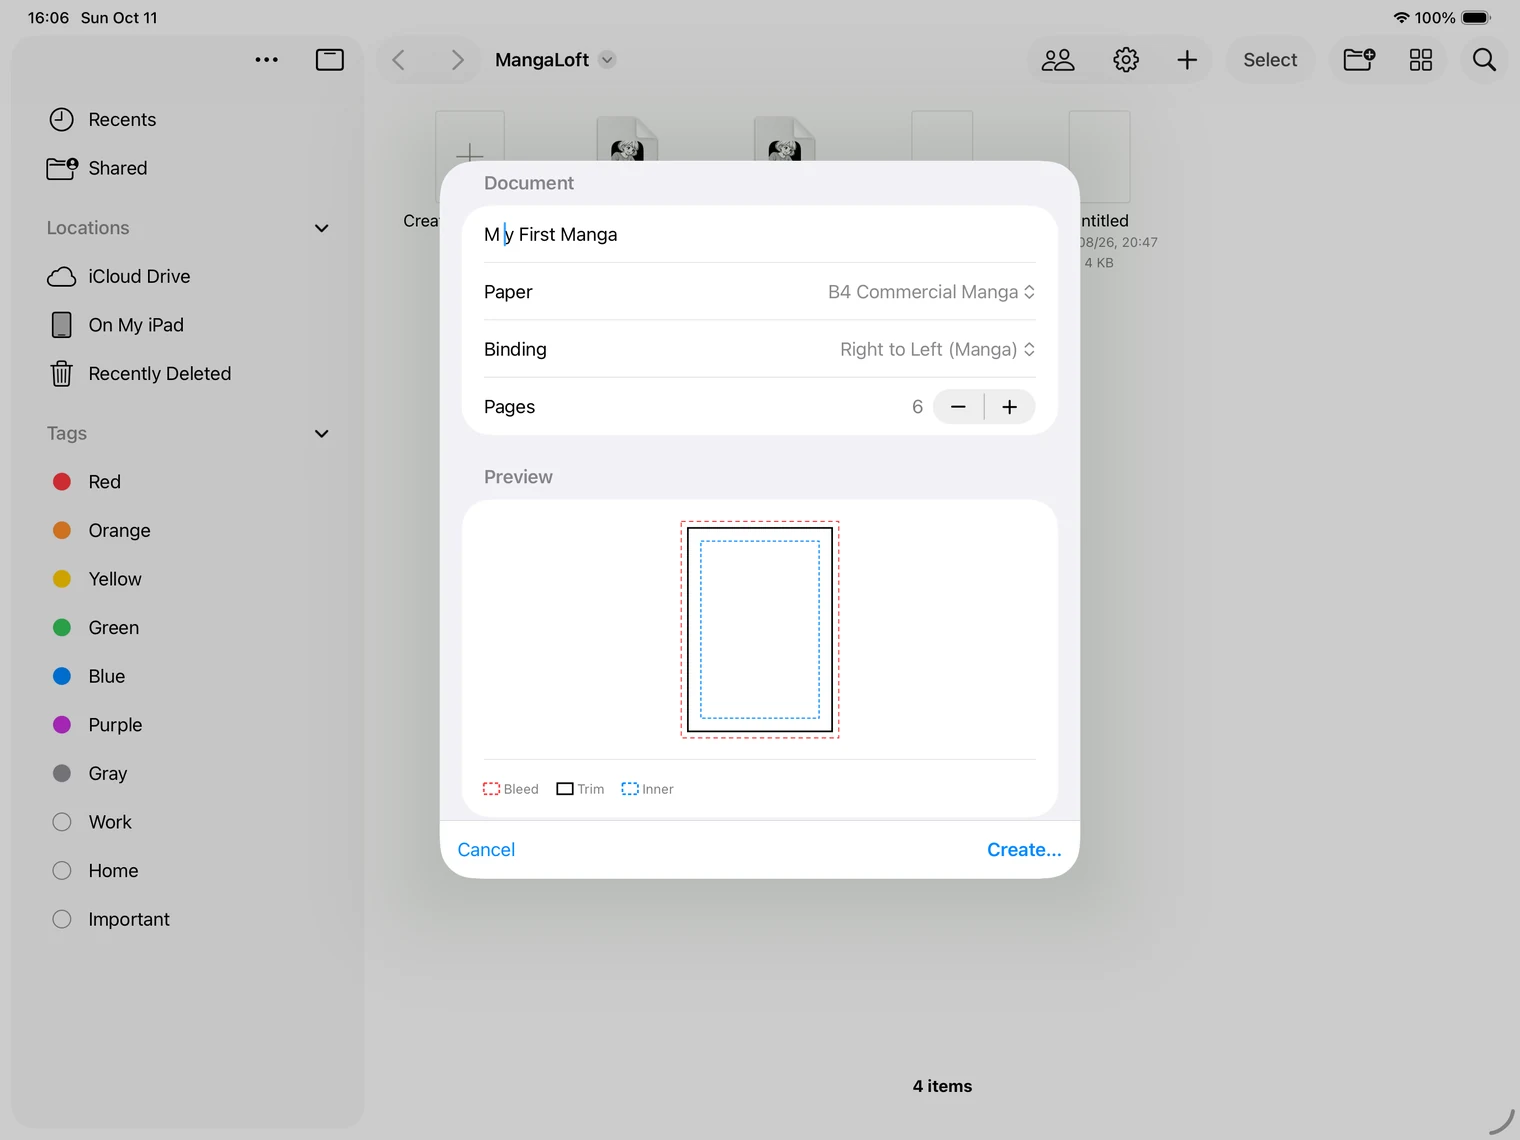
The sheet that follows has the same four lines as on the Mac.
2. Name it and pick a paper
You only need the top four lines.
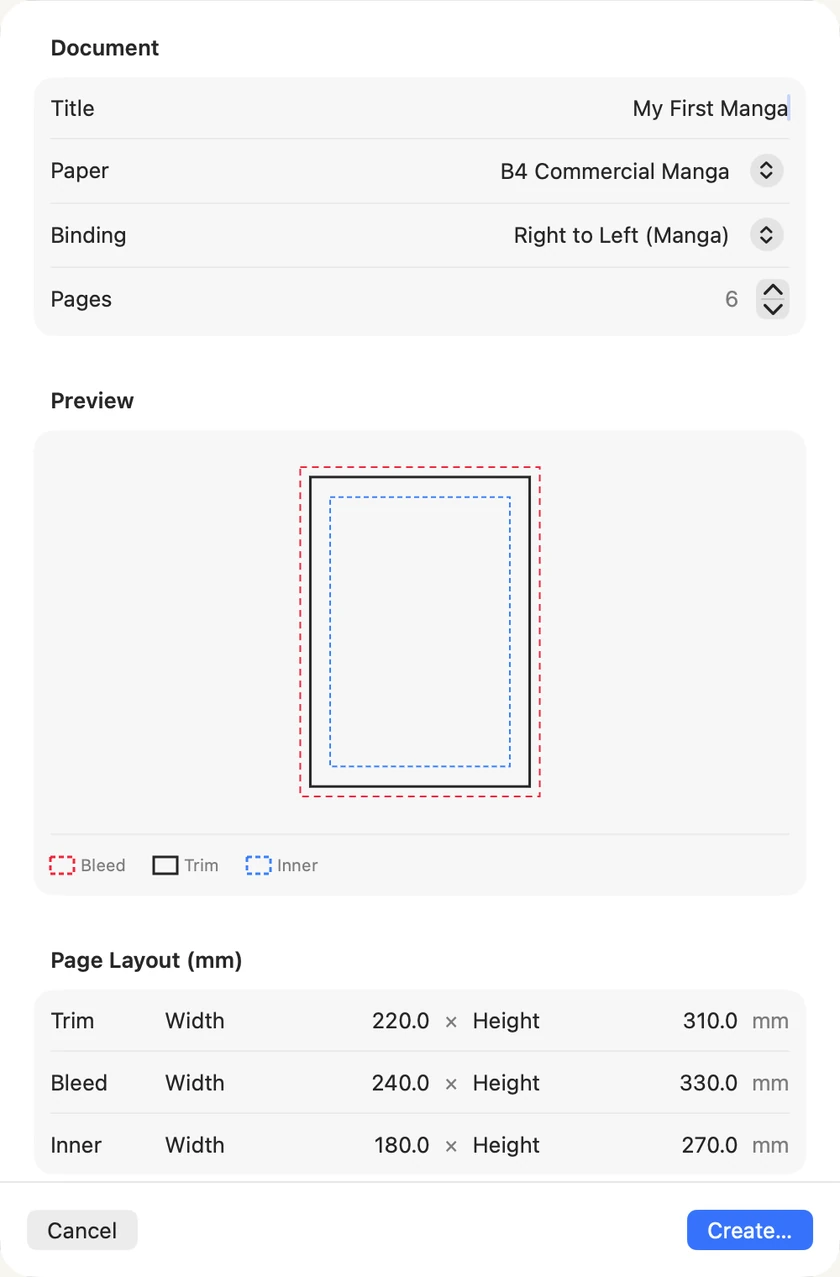
- Title — the name of your manga. It becomes the file name.
- Paper — B4 Commercial Manga is the size professional manga is drawn at, and a good place to start. B5 Doujinshi is the common size for self-published books. Custom lets you type your own.
- Binding — which way the book reads. Right to Left (Manga) is the Japanese way; choose Left to Right (Western) for a comic read like an English book, or Single Page for pages that never face each other.
- Pages — how many pages to start with. You can add and remove pages later, so a guess is fine.
Not sure? Leave everything as it is and only type a title.
3. The three rectangles
The preview shows three lines: trim (black) is where the paper is cut, bleed (red) is a little extra outside the cut, and inner (blue) is the safe area for faces and words. You can leave the numbers alone. More in Documents and pages.
4. Create, and choose where it is saved
Choose Create…. MangaLoft asks where to keep the document and suggests its own folder in iCloud Drive, so the same document is there on your Mac and your iPad. You can choose a folder on this Mac instead; then it stays on this Mac.
Your document is one file ending in .mangaloft. It is yours: copy it, back it up, move it like any other file.
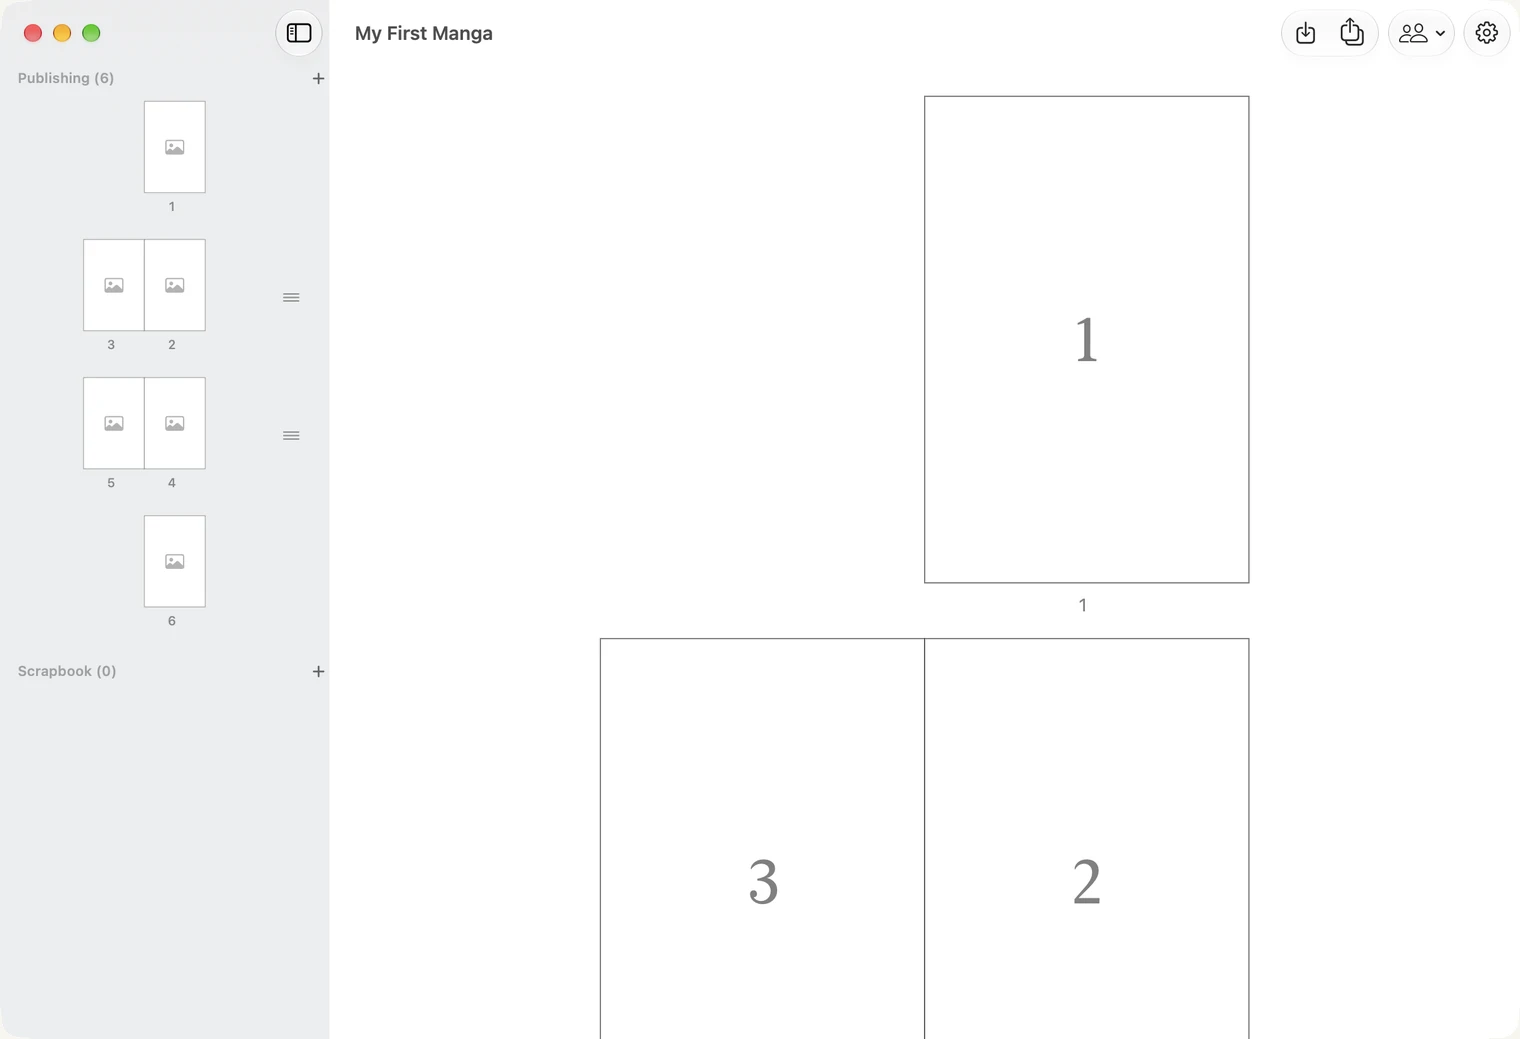
5. Your document opens
You are looking at the page list: every page of your manga, in reading order. Page 1 stands alone; after that, pages sit side by side the way they face each other in the book.
Change your mind later
Choose the paper before you draw: changing it later fits the panels to the new paper, but does not resize what you have drawn. Trim, bleed and binding can be changed afterwards: File ▸ Document Settings… (⌘⇧D) on Mac, or the gear button in the page list on Mac and iPad. More in Documents and pages.